Happy Valentine’s Day!!
Since my name is Victoria Love I have always viewed Valentine’s Day as almost my very own holiday. Being an Executive Pastry Chef also means it’s a lot of work. Last year I had to prepare desserts for 400 guests, do 400 royal icing decorated 4 inch cookies as favors,


800 sugar cookies for displays

and at least 500 hand dipped chocolate nut clusters. In years past I would also put red velvet cupcakes on the brunch buffet.
In honor of this loving holiday I decided my very first recipe for my blog would be Red Velvet Mini Cupcakes. Now how to make it healthier.
In my goal to create healthier recipes for children one of the first things I did was to cut down on the sugar. My original recipe calls for more than a 1/2 cup more of sugar. How did I come to this amount? I kept cutting down on the sugar until the recipe didn’t work. What do I mean by it didn’t work? The batch that I removed too much sugar from not only did not taste good but the center didn’t rise and the texture of the cupcake was rubbery.
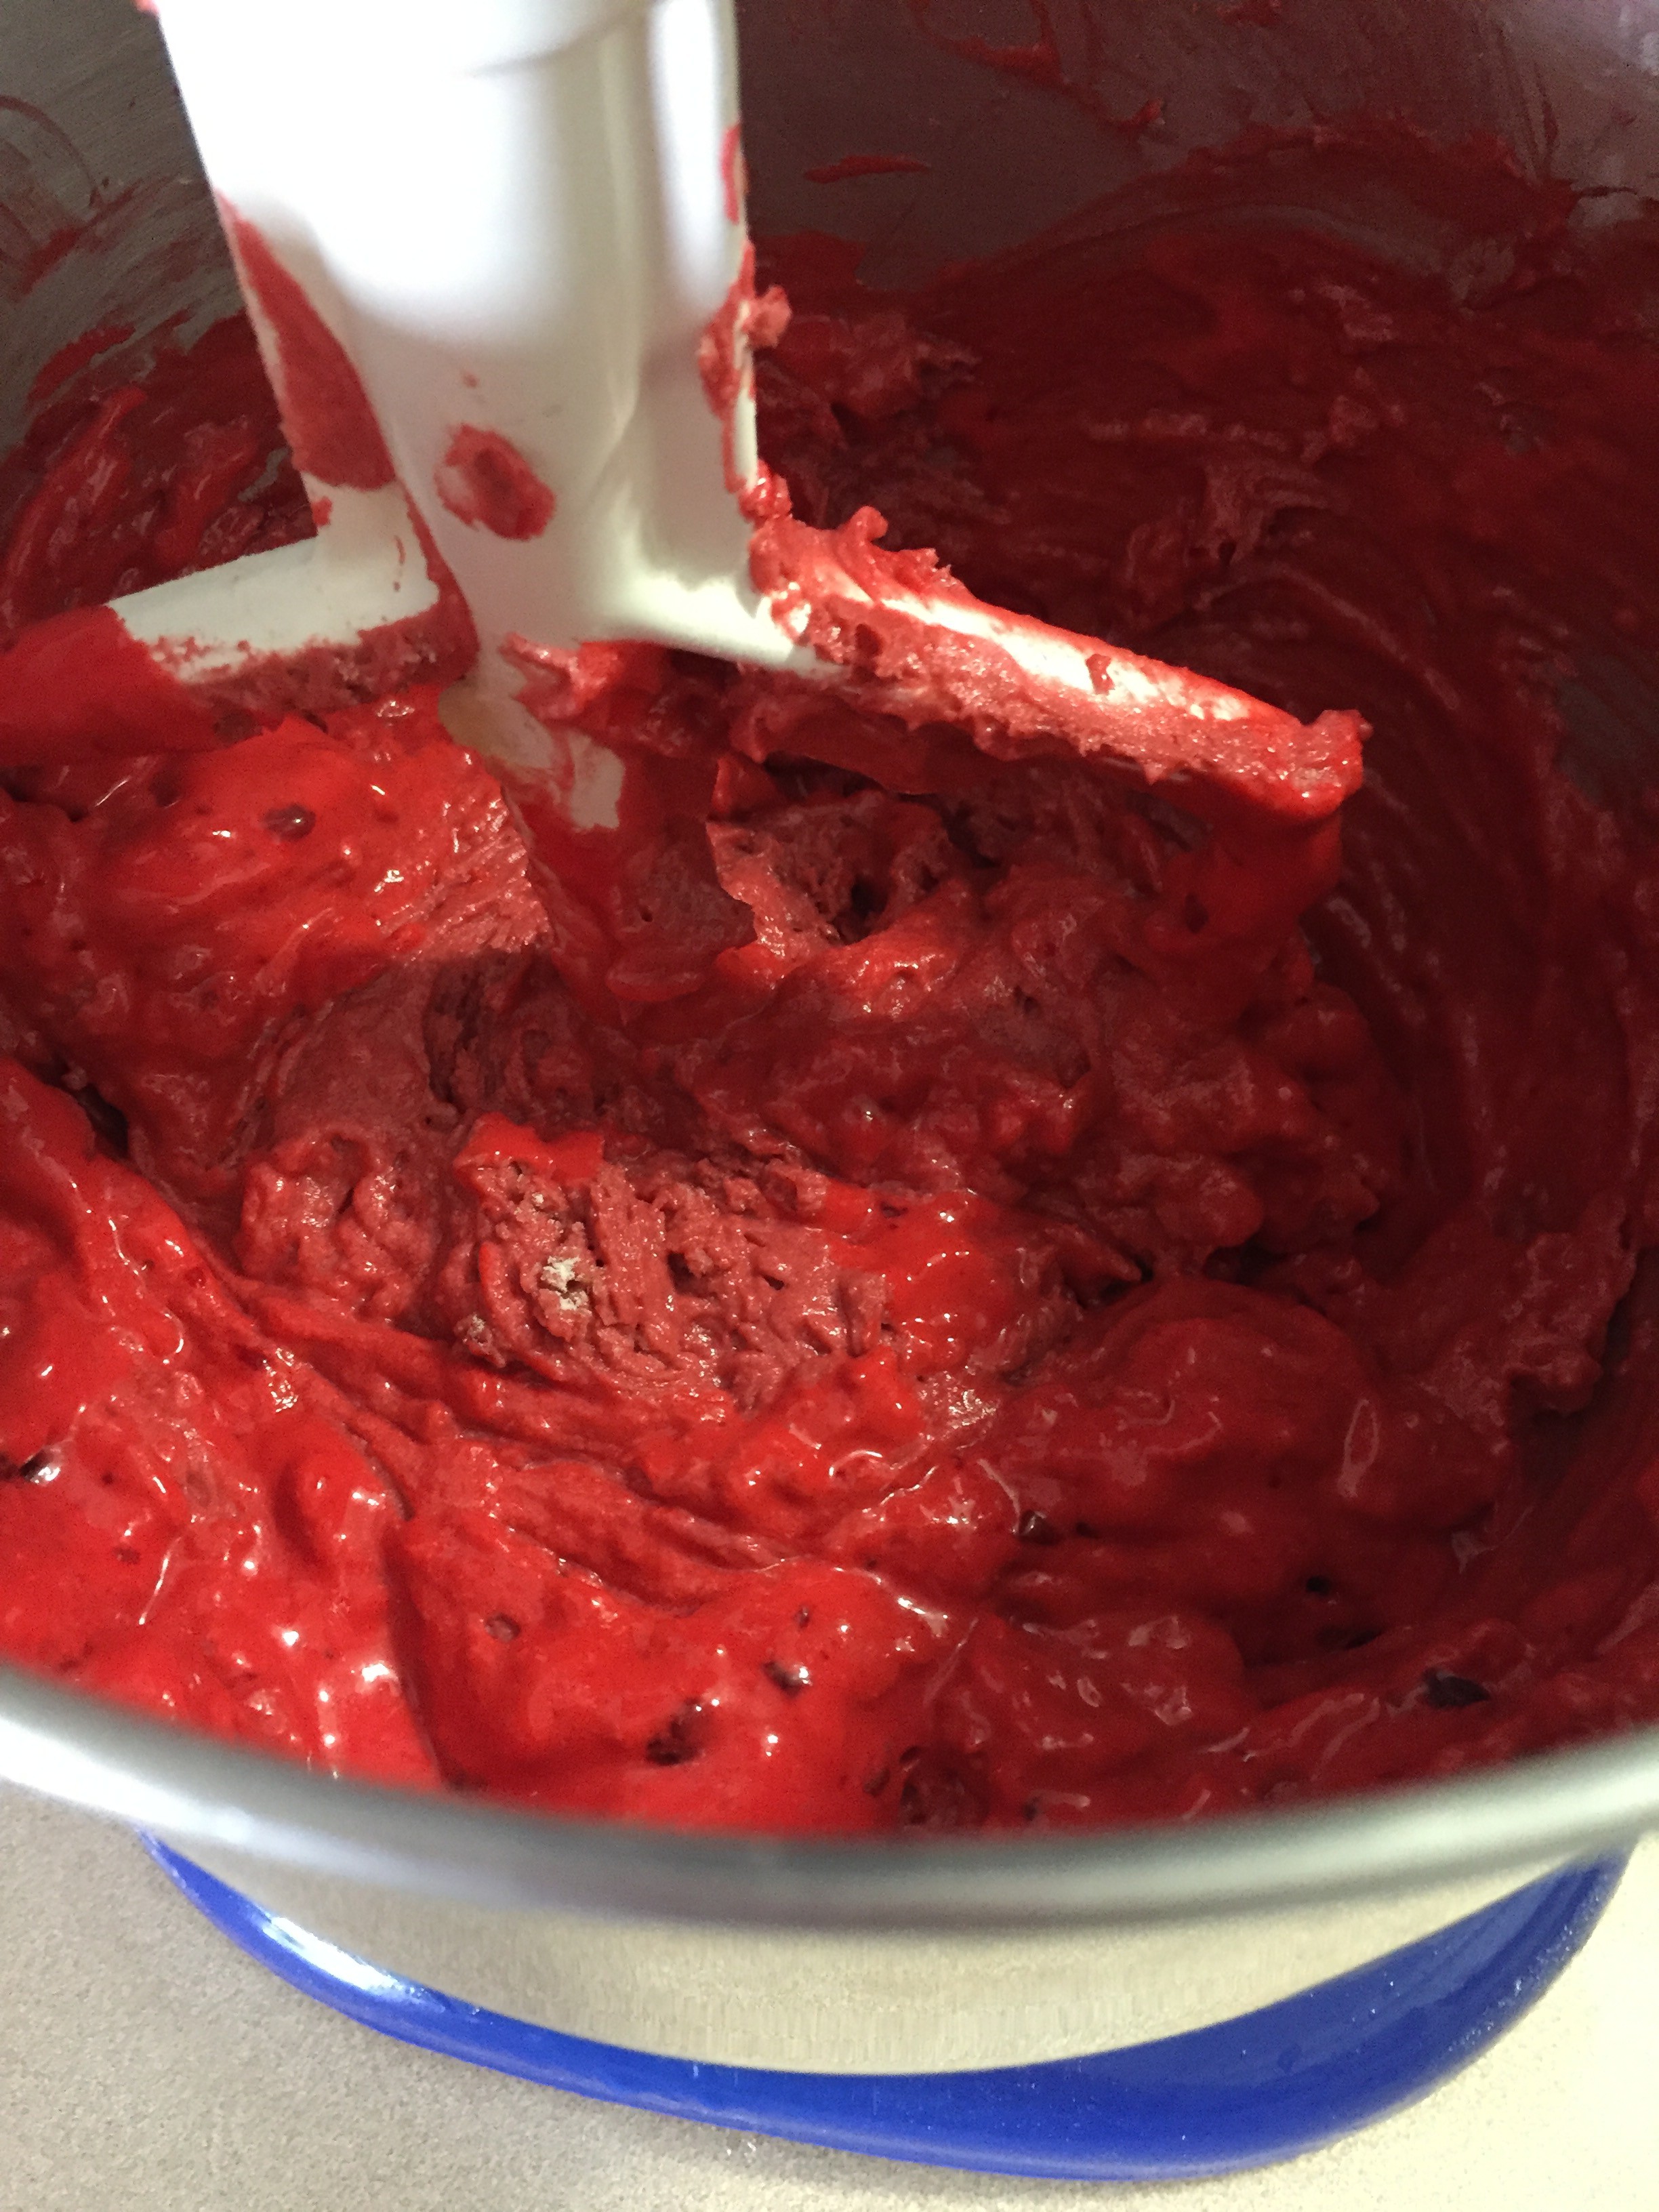
Next I cut down the salt. The red dye also needed to be cut down. My original recipe called for 2 Tablespoons of Red Dye, but I believed I could achieve the tell tale red color with much less. I cut it down to only 2 teaspoons taking away 4 teaspoons. The batter looked a dark pink and I was worried I would not get the deep red that would make it a red velvet but luckily since I have some cocoa powder in the recipe as well, the color did come out when baked to the glorious red I desired. Lastly portion control is so very important for children hence I made them mini cupcakes.
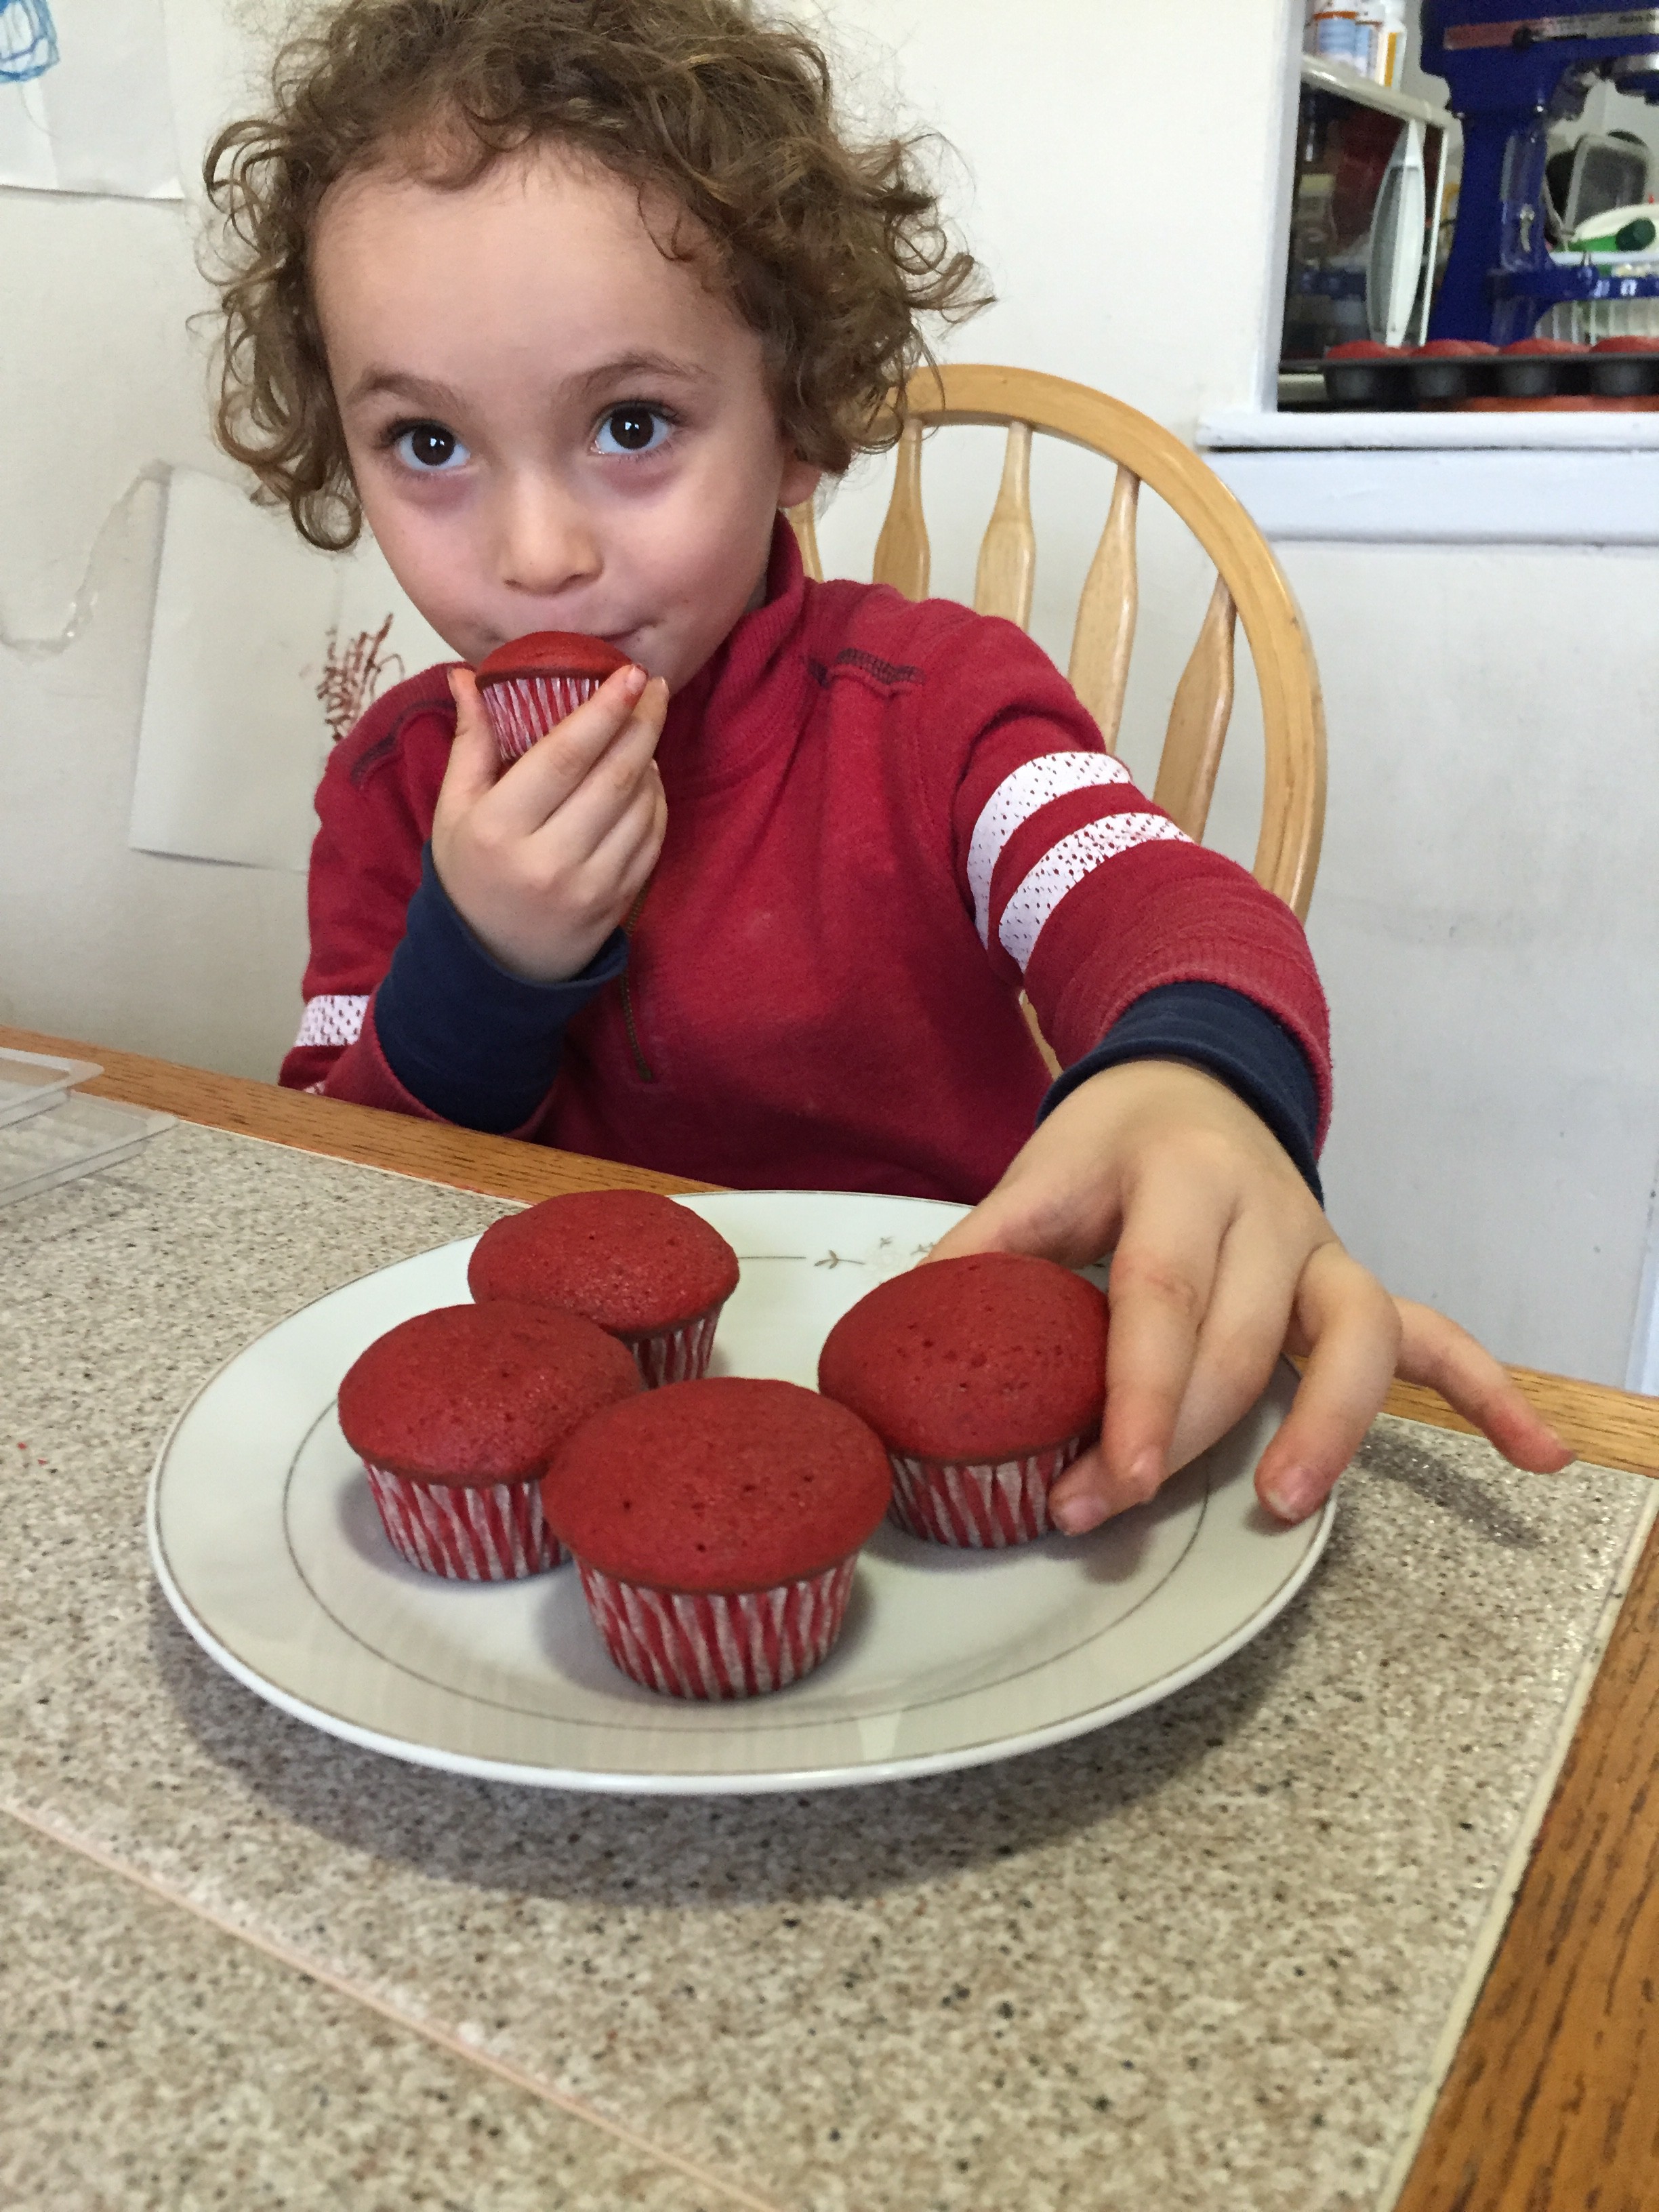
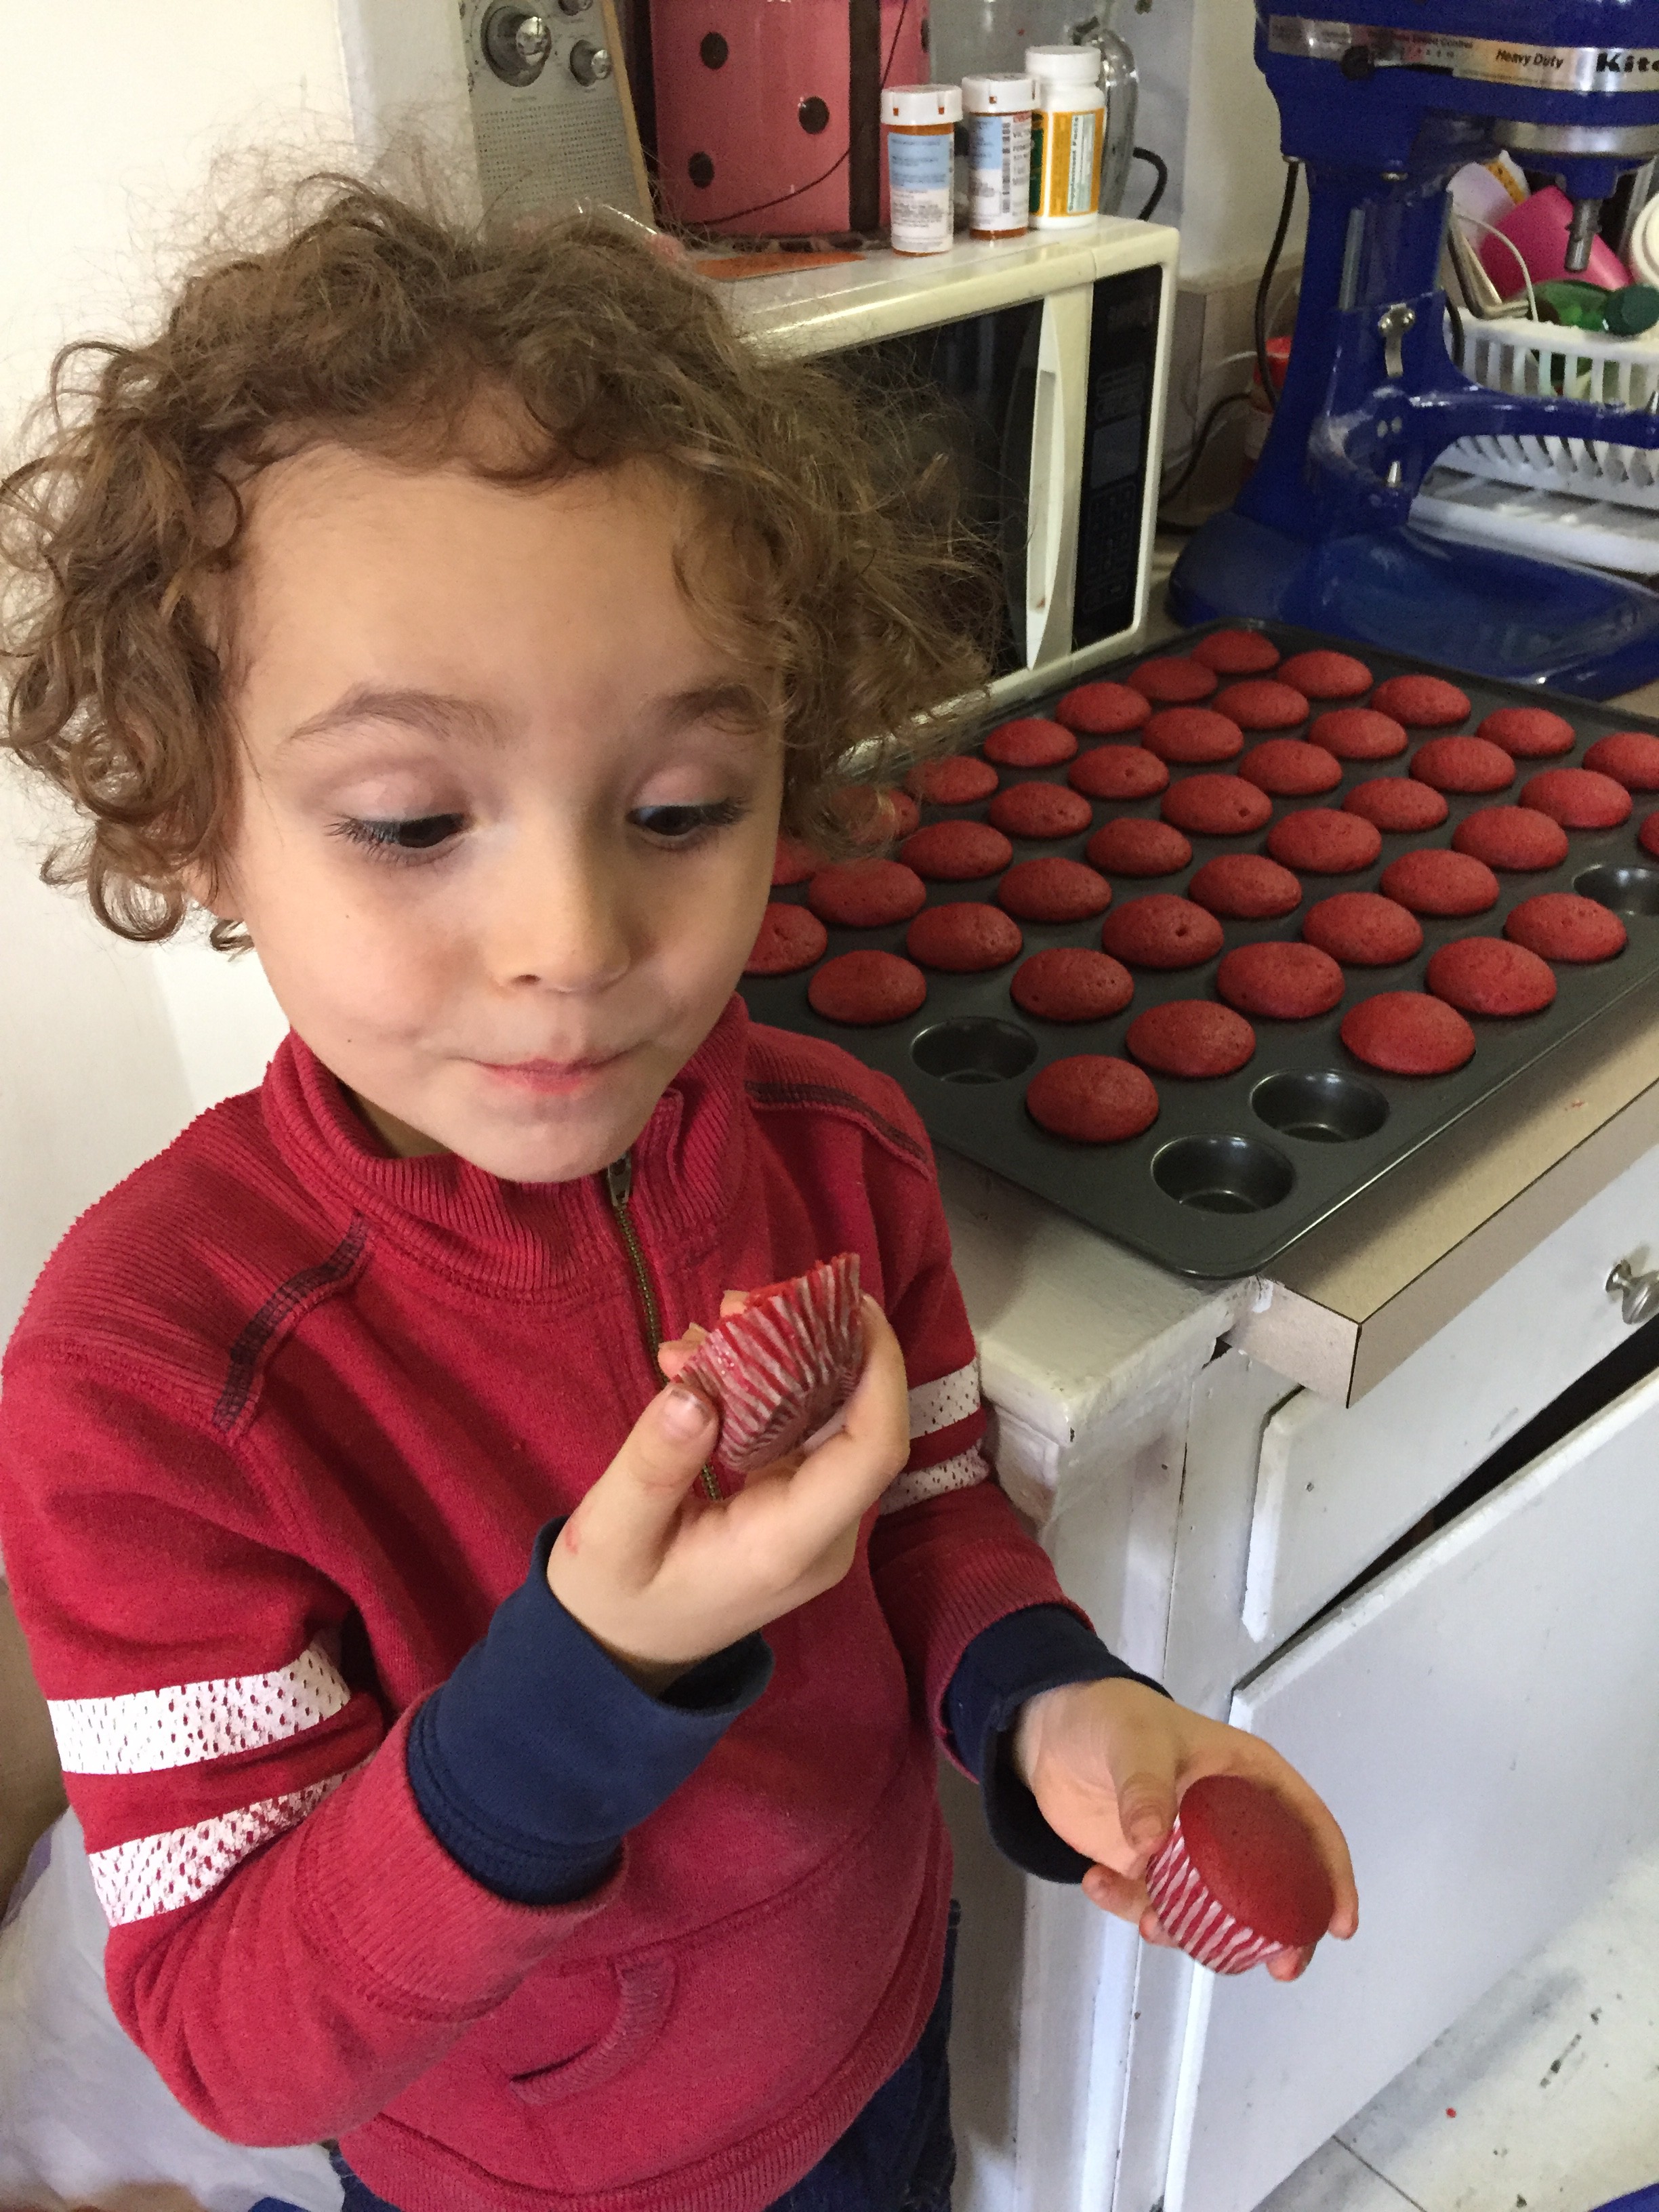
Of course portion control only works if you can actually follow it. Alexander loved these so much he ate 6 before I even noticed and I had to put them on top of the refrigerator out of reach.
Happy Baking and Happy Valentine’s Day.
Avec Amour, Victoria and Alexander
Red Velvet Mini Cupcakes Recipe
Yield 46
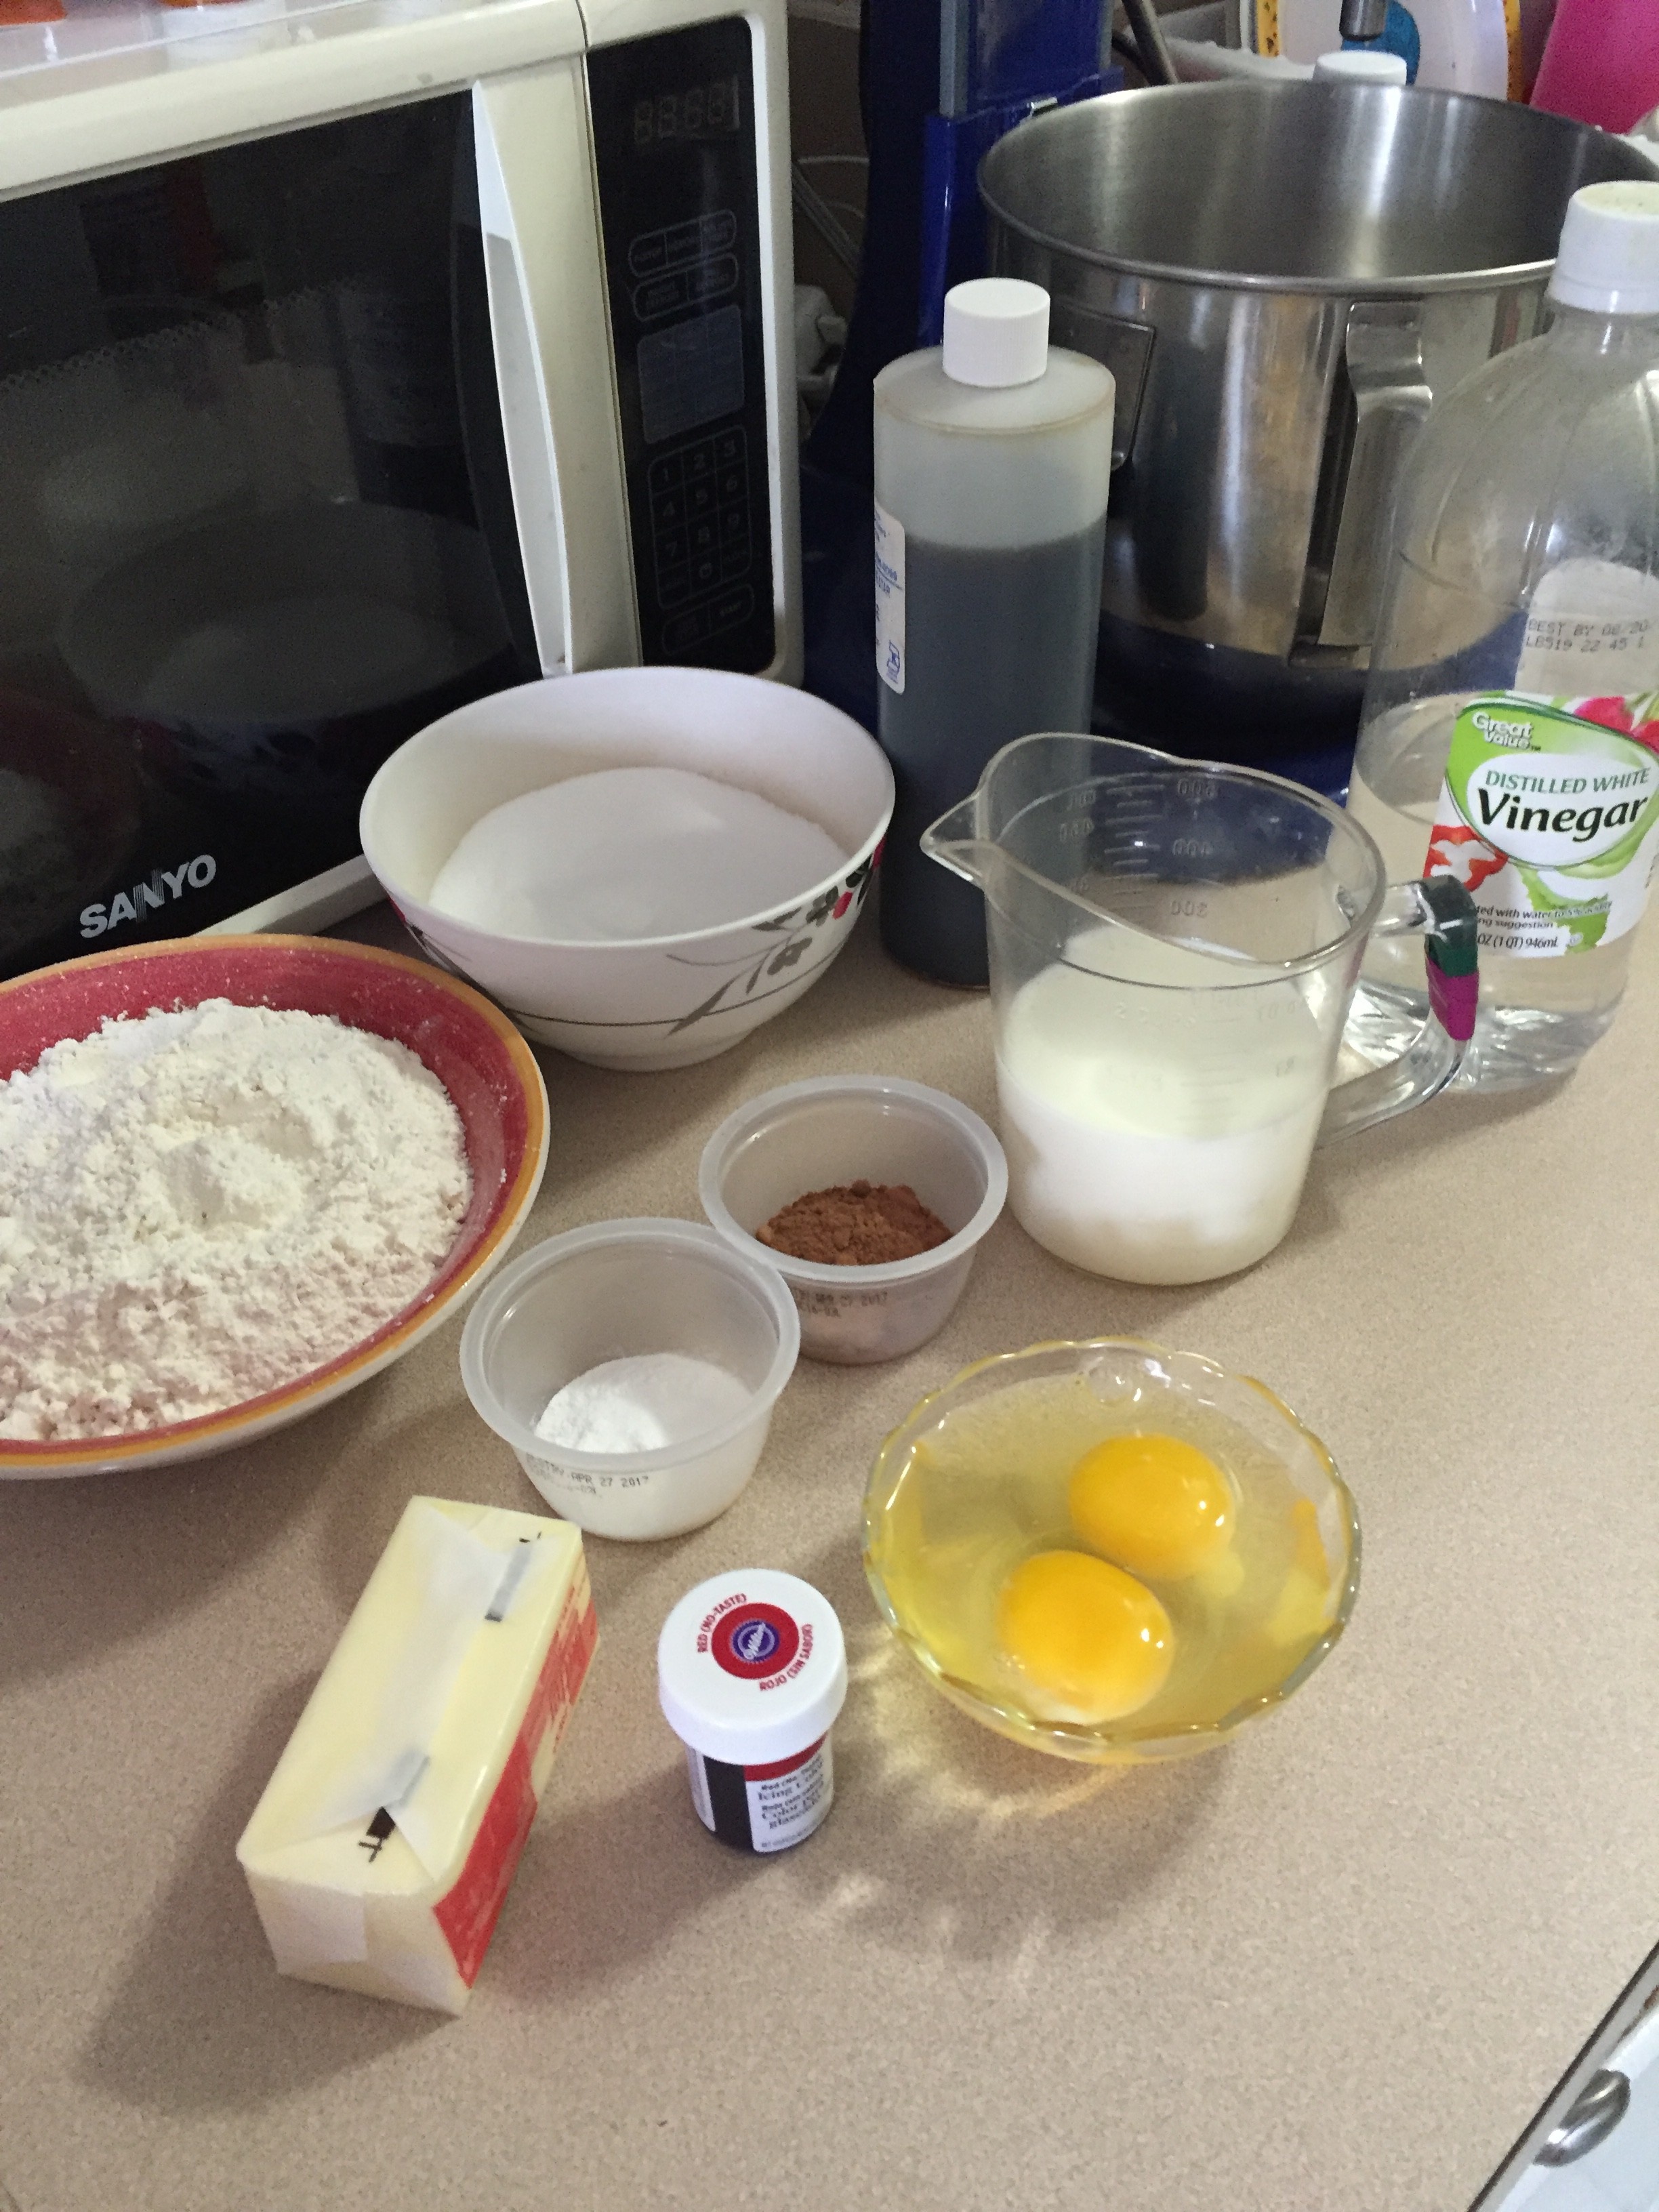
1/2 Cup Butter, soft (4 oz)
1 1/4 Cups Sugar (9 oz)
1 teaspoon White Vinegar
2 Large Eggs
1 3/4 Cups All Purpose Flour (9 1/2 oz)
1 Tablespoon Cocoa Powder (1/3 oz)
1 teaspoon Baking Powder
1 teaspoon Baking Soda
1/2 teaspoon Salt
1 teaspoon Vanilla Extract
1 Cup Buttermilk
2 teaspoons Red “No Taste” Icing Color Wilton Brand *
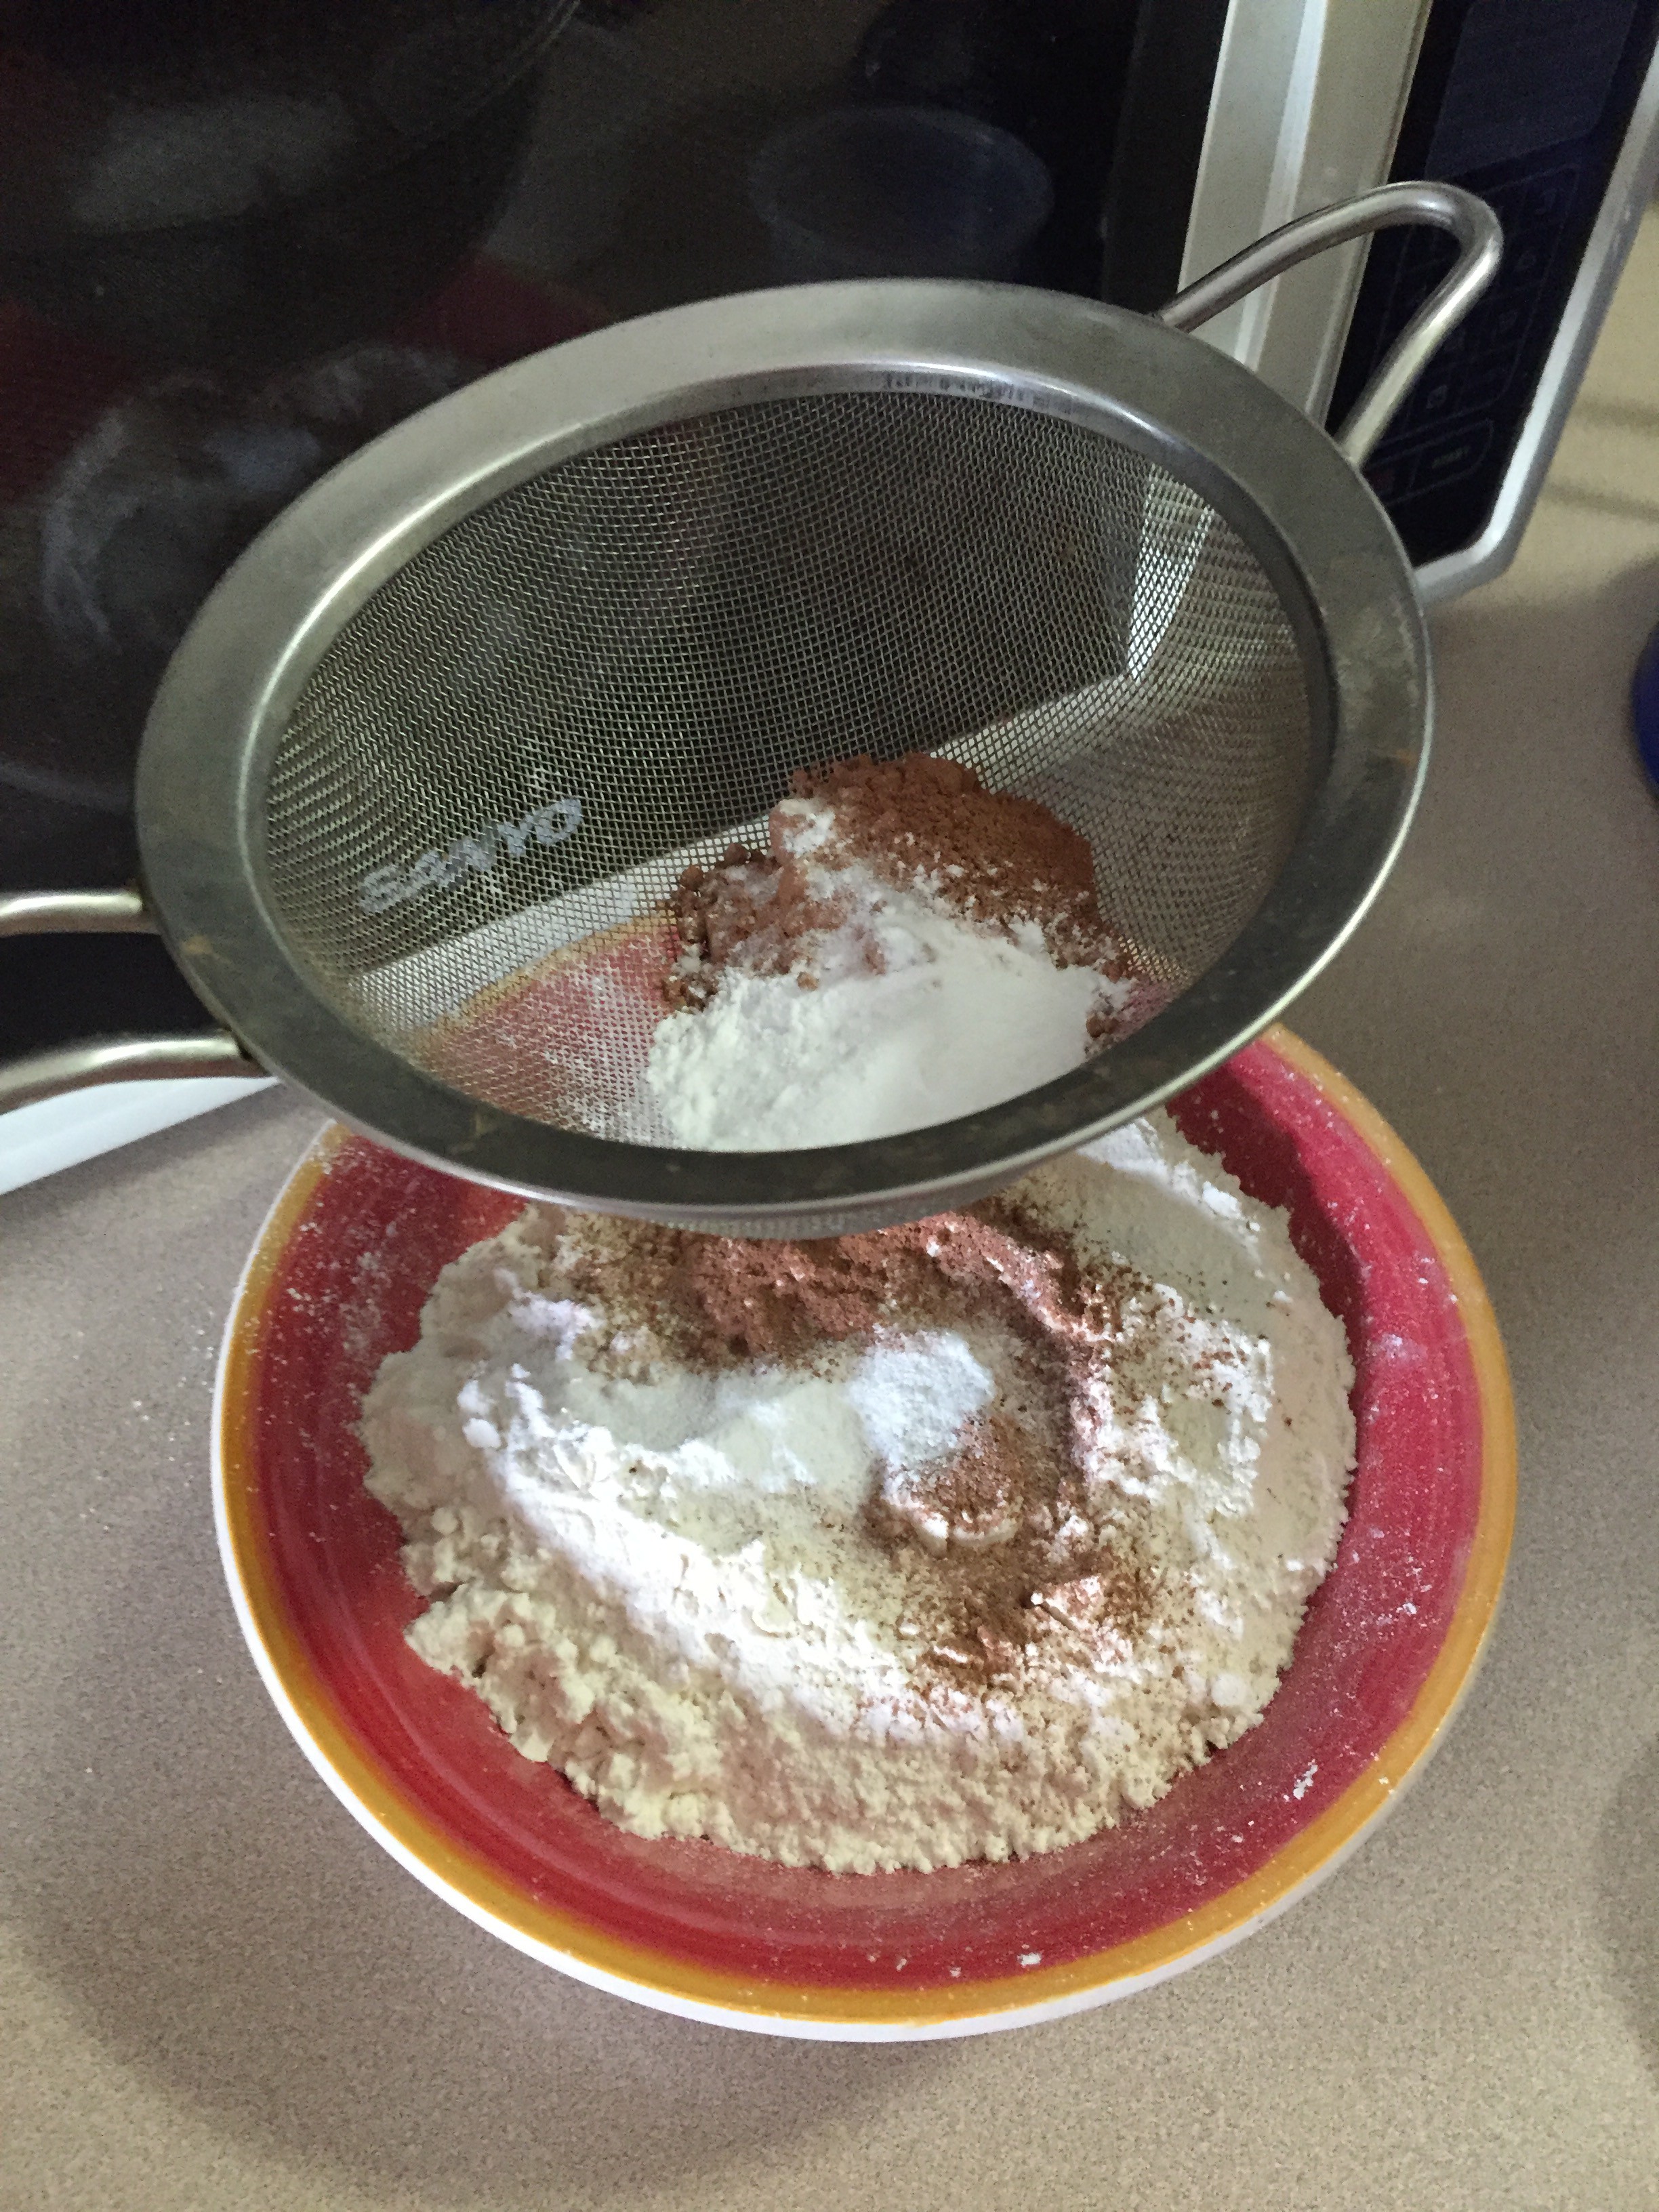
1. Pre-heat oven to 350 degrees. For best results have all ingredients at room temperature.
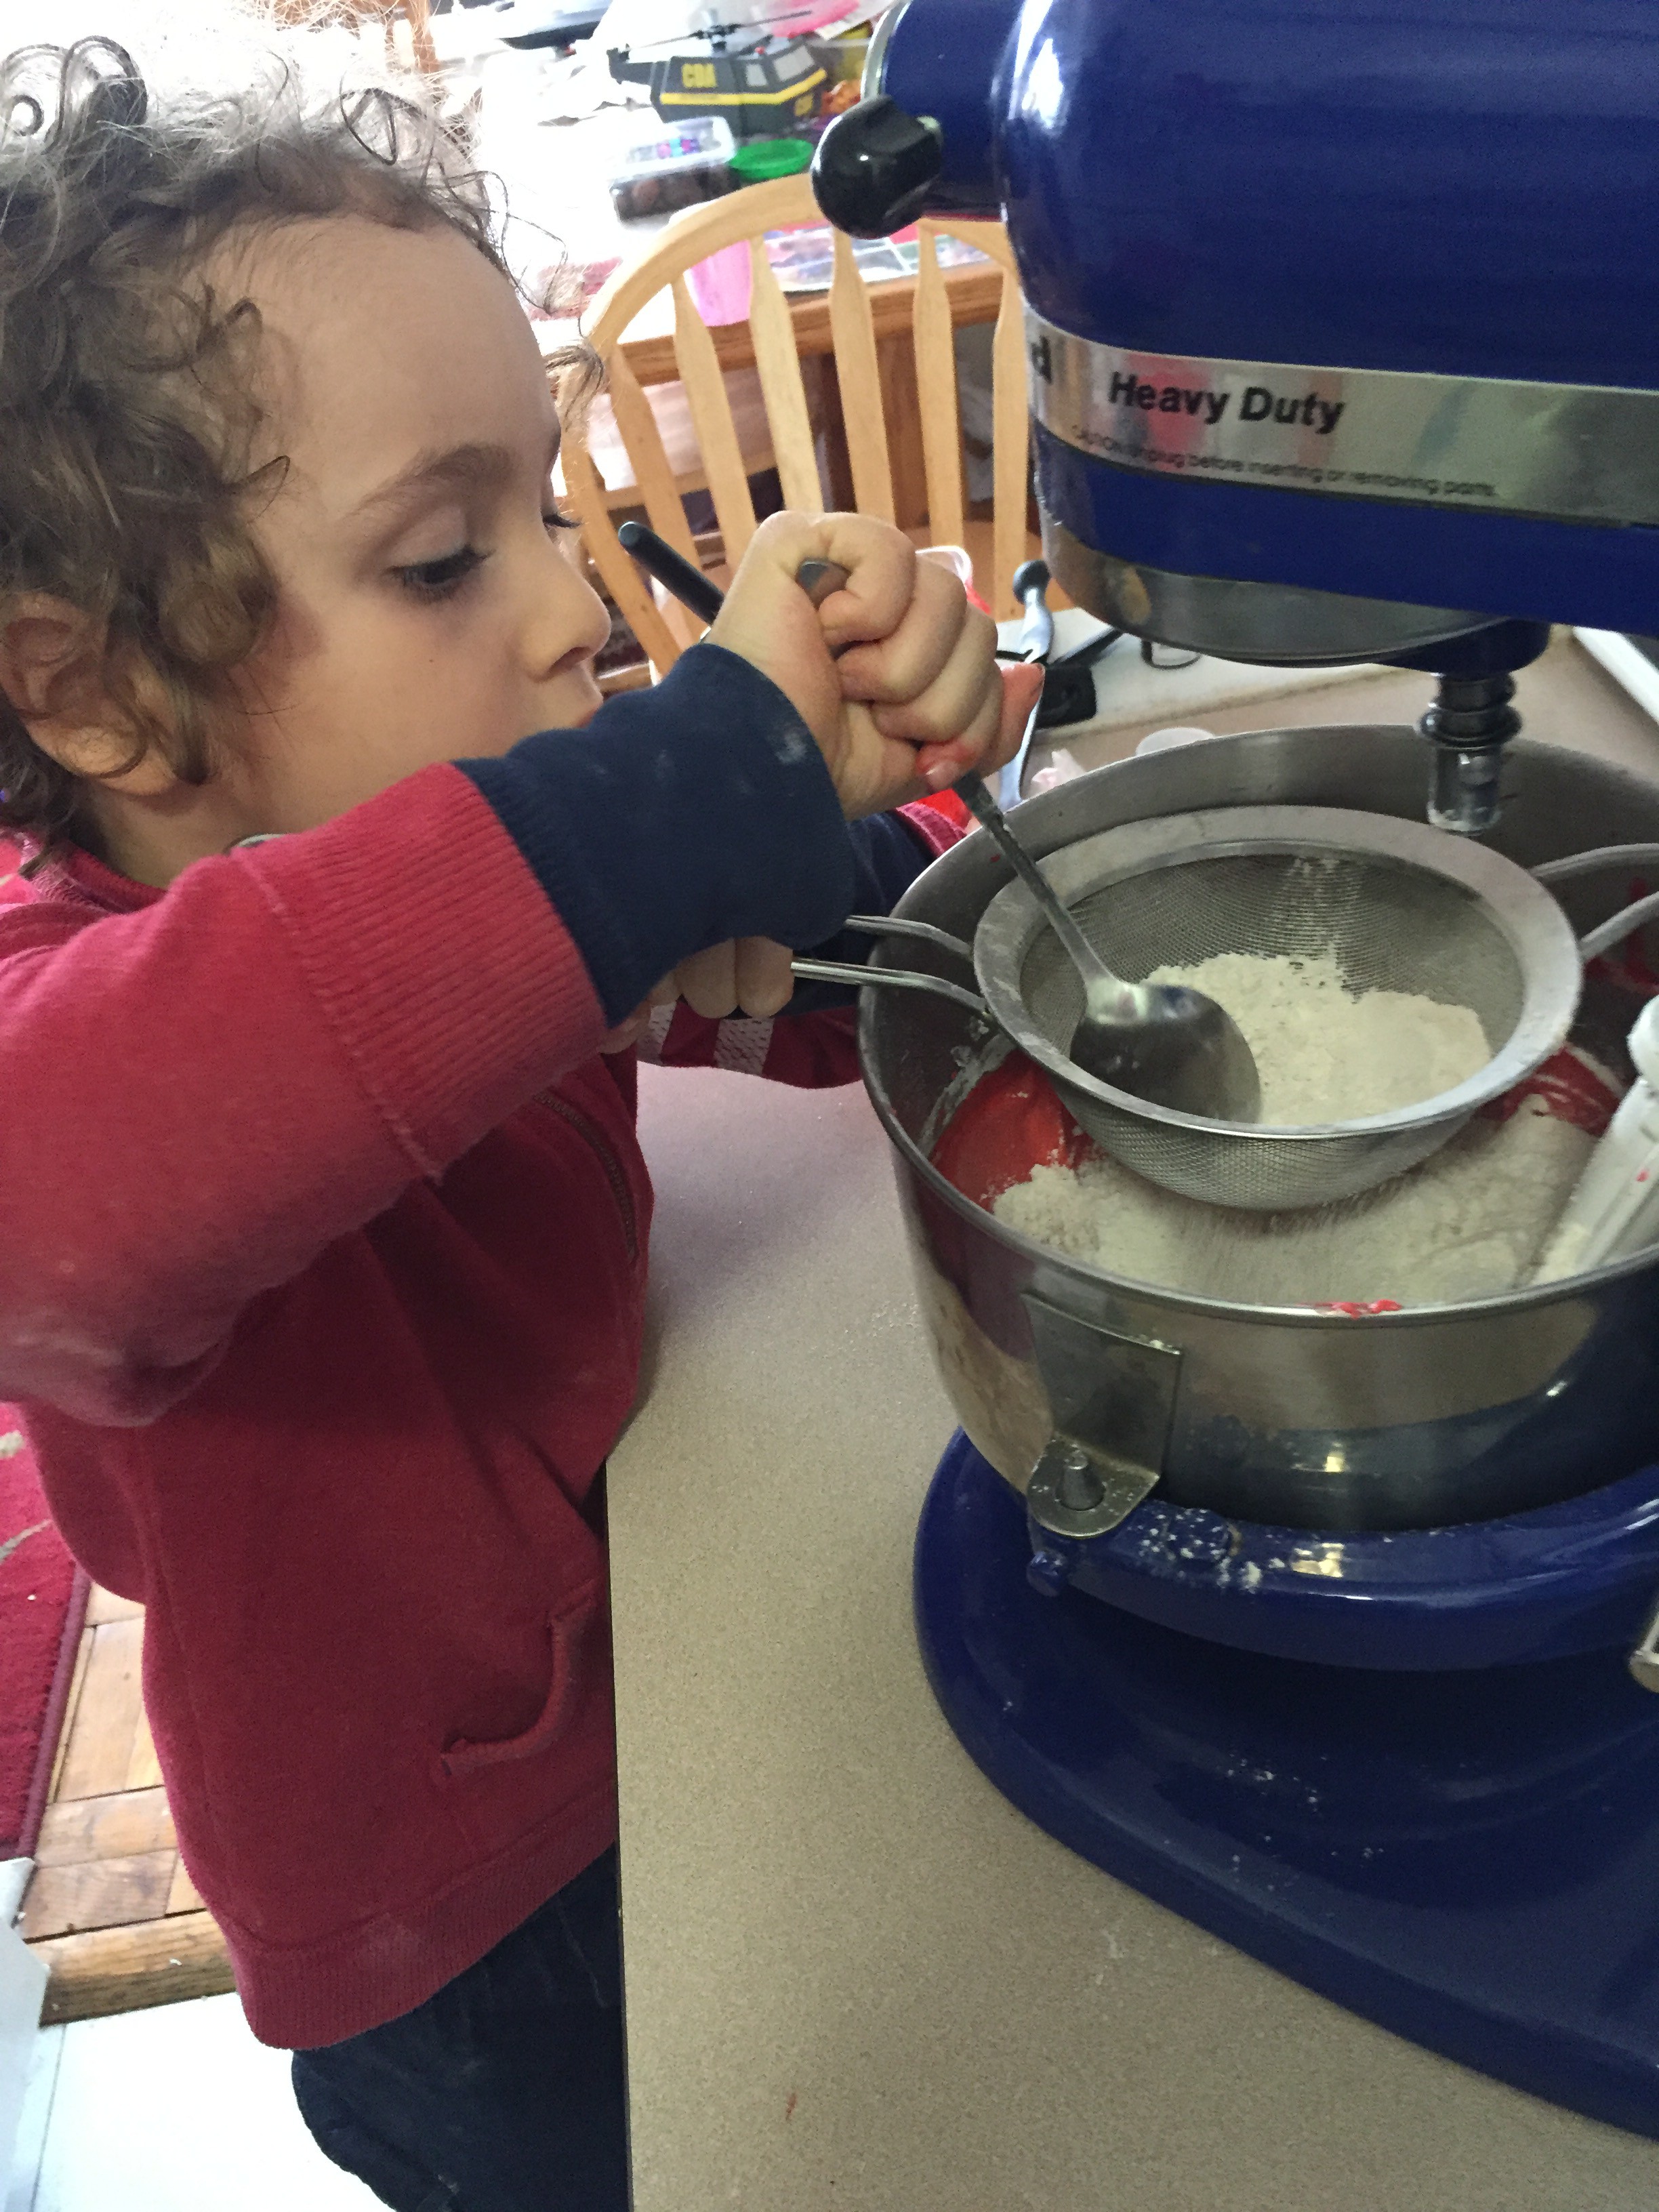
Sift together the dry ingredients.
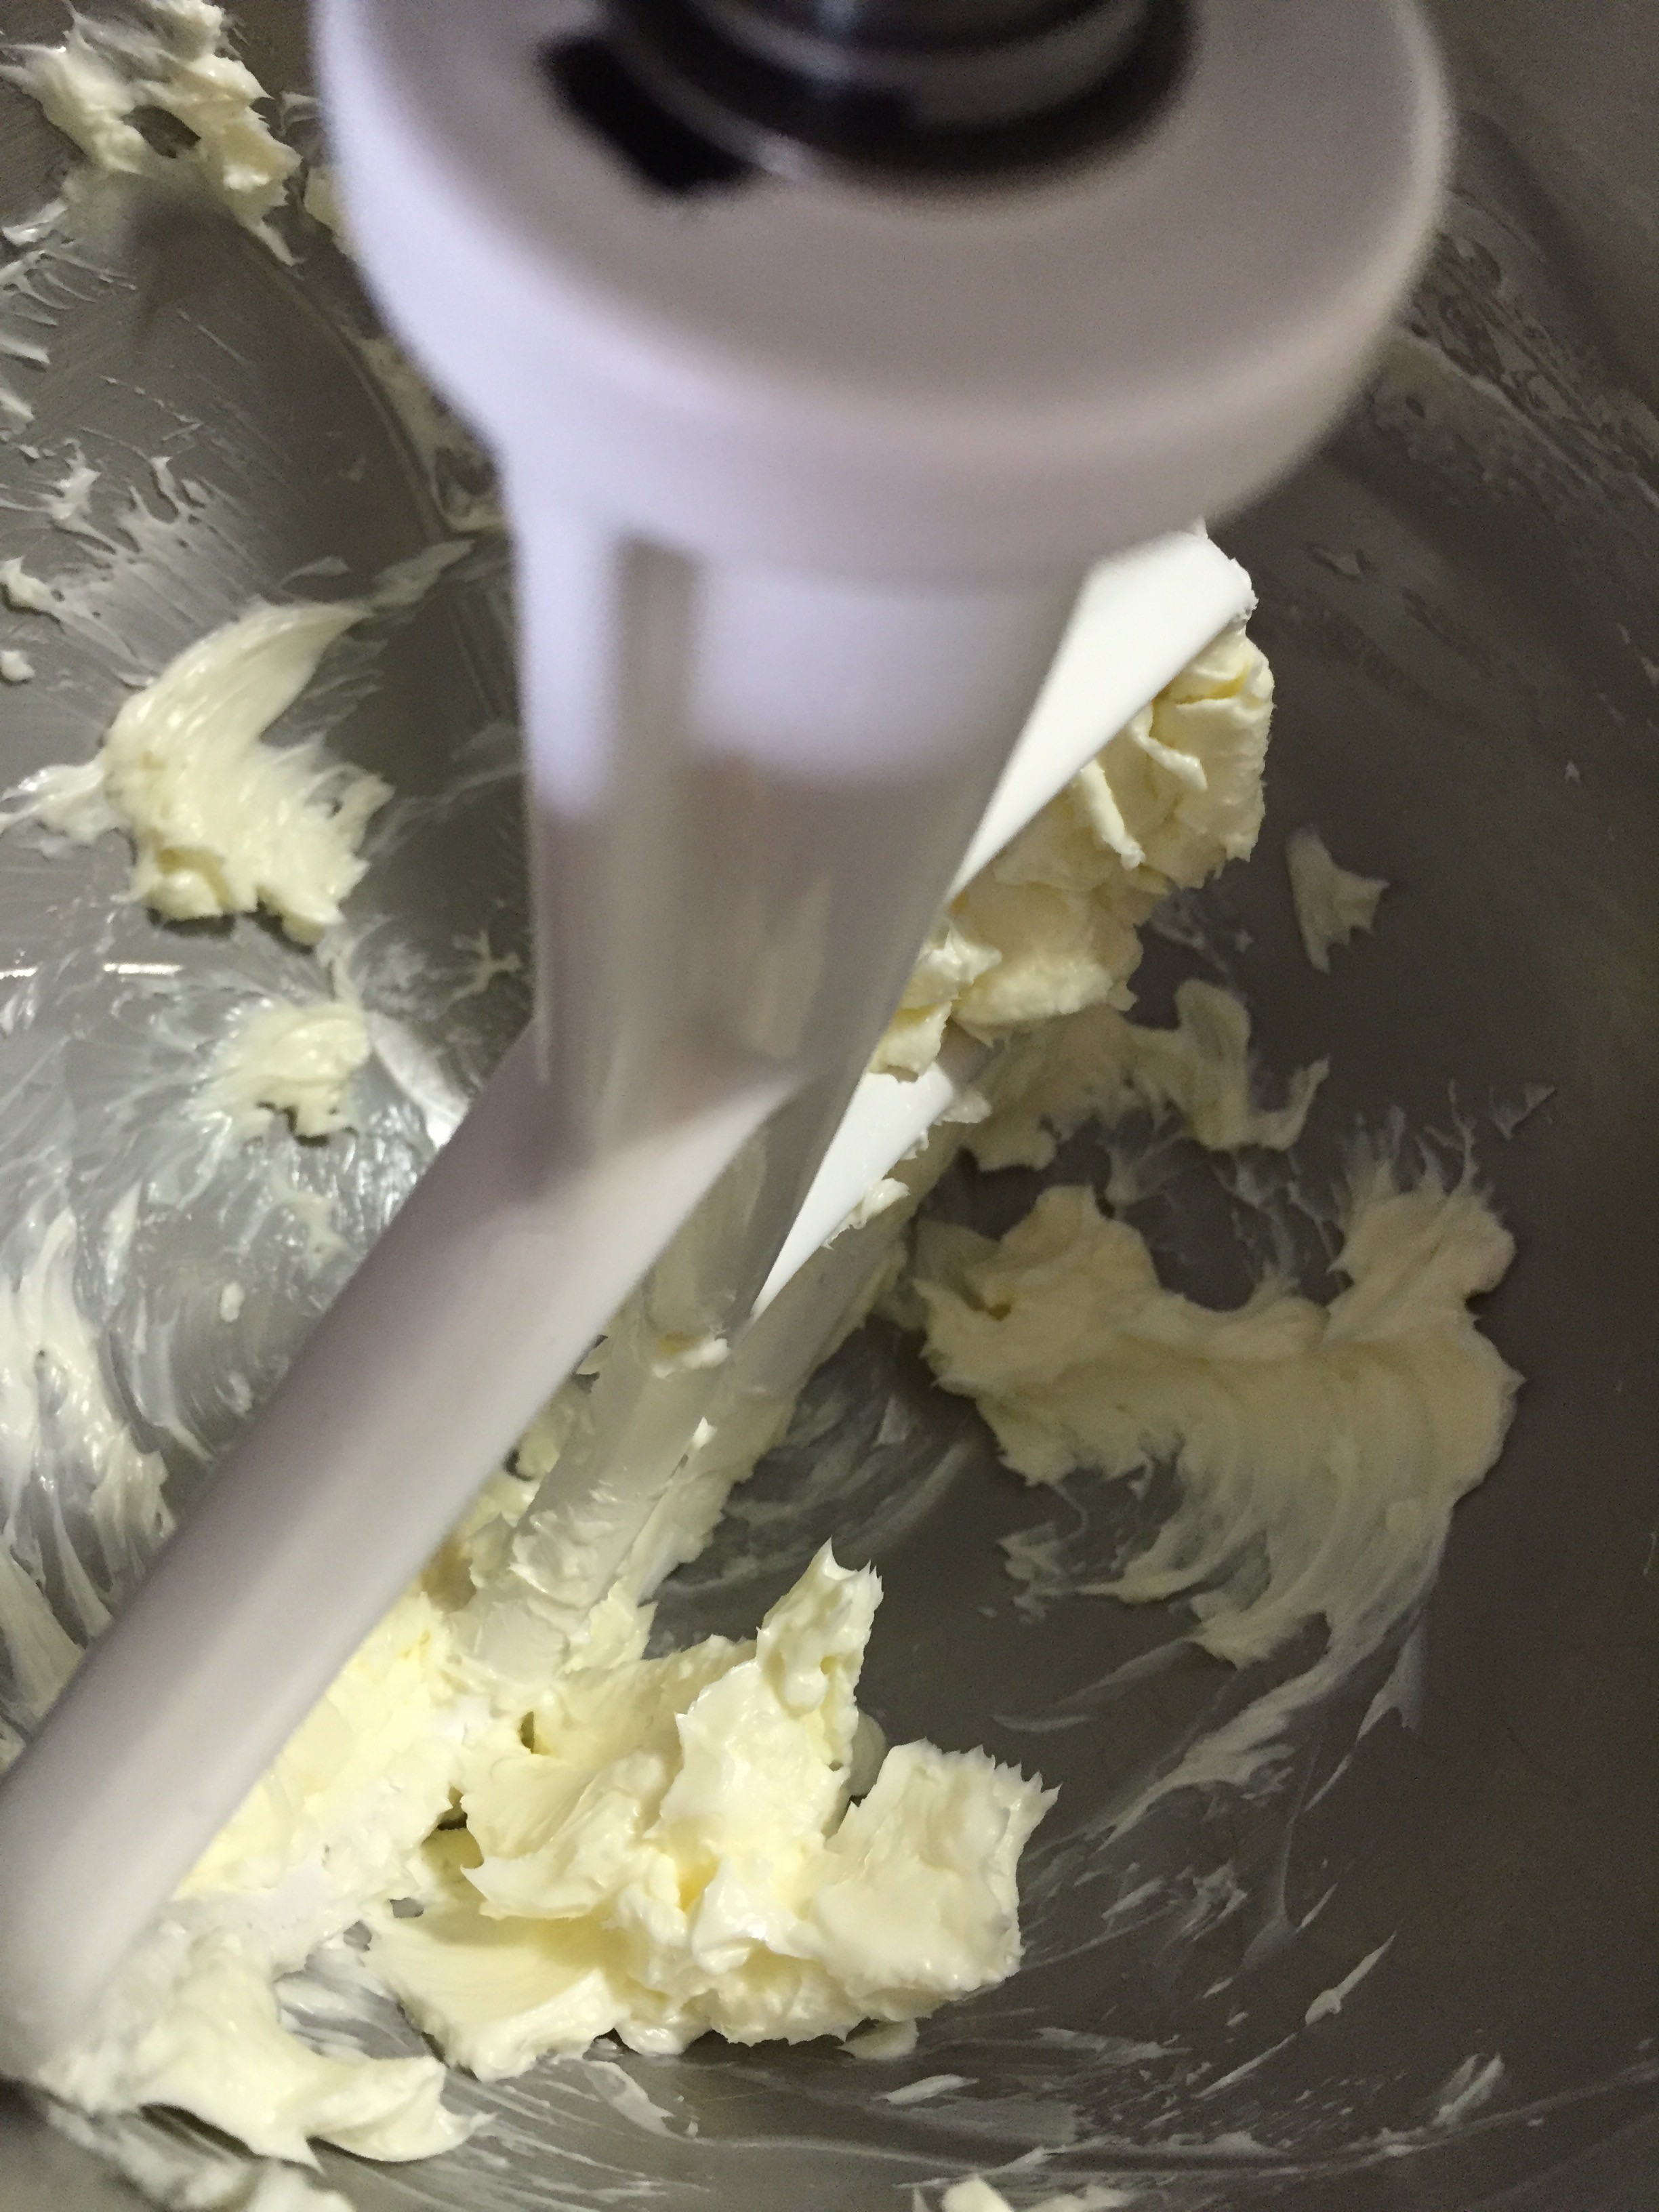
2. Using a stand mixer with paddle attachment or a hand held mixer, beat the butter until smooth
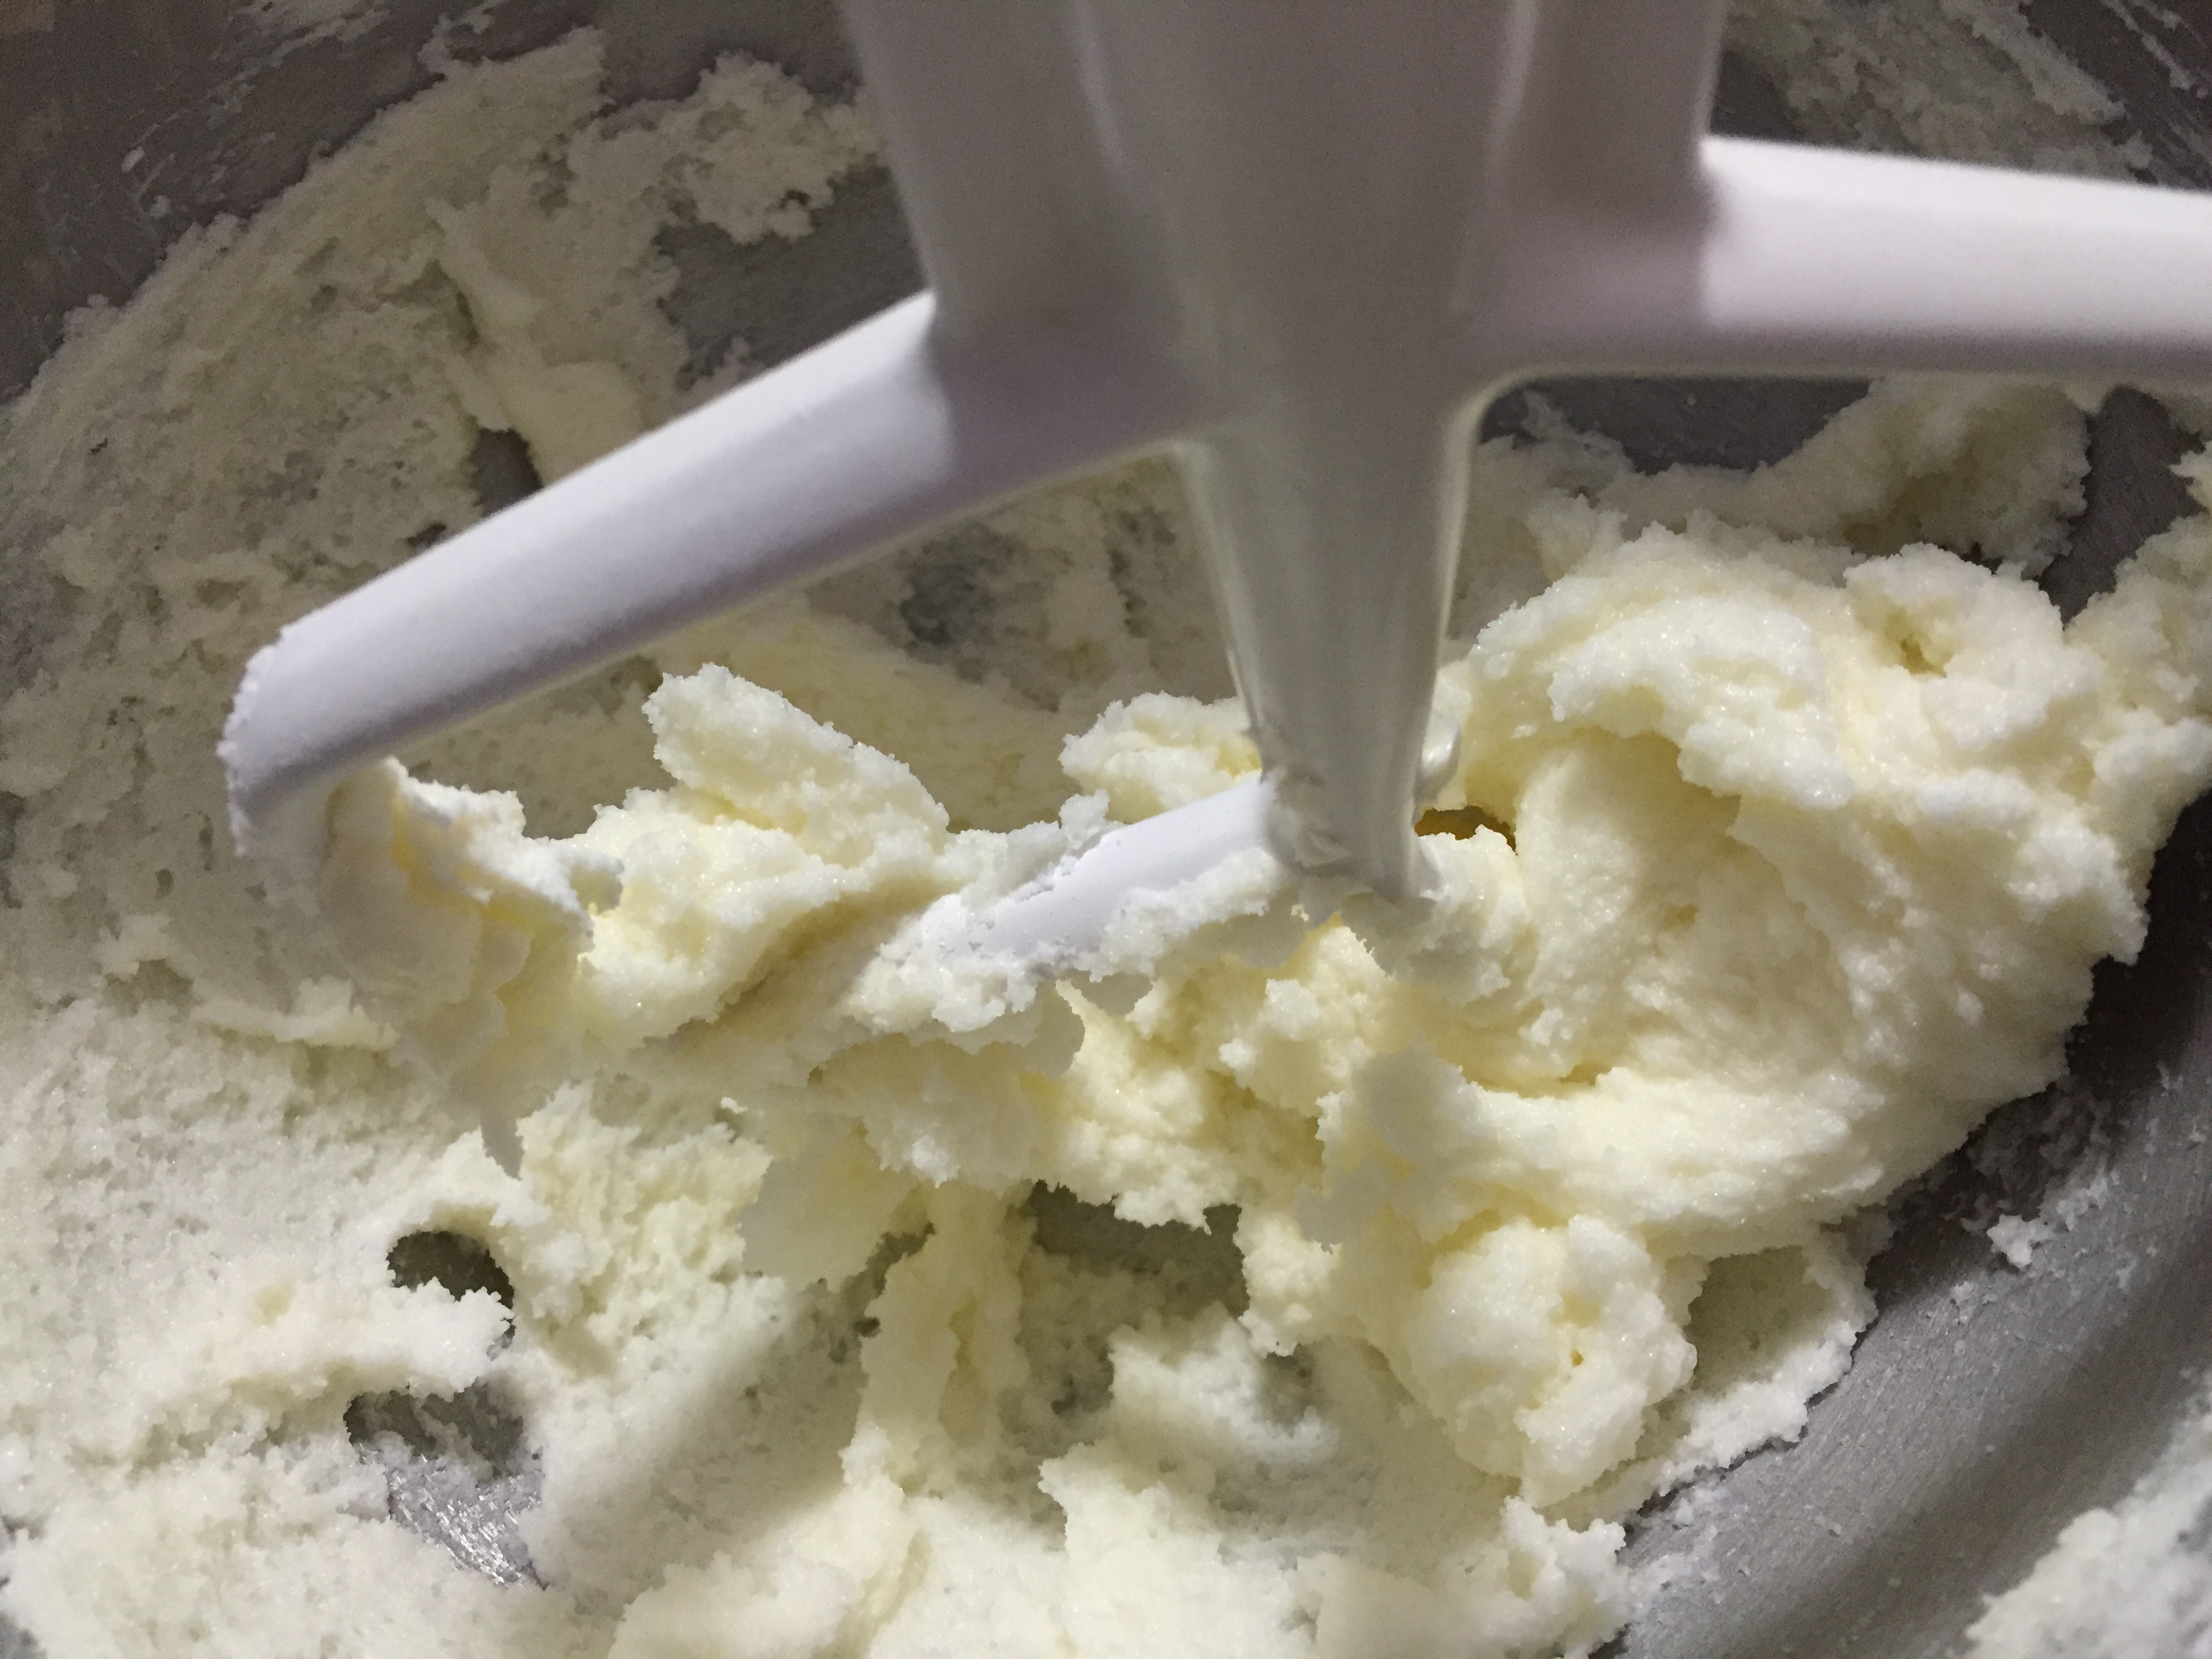
then add the sugar and paddle until light and fluffy.
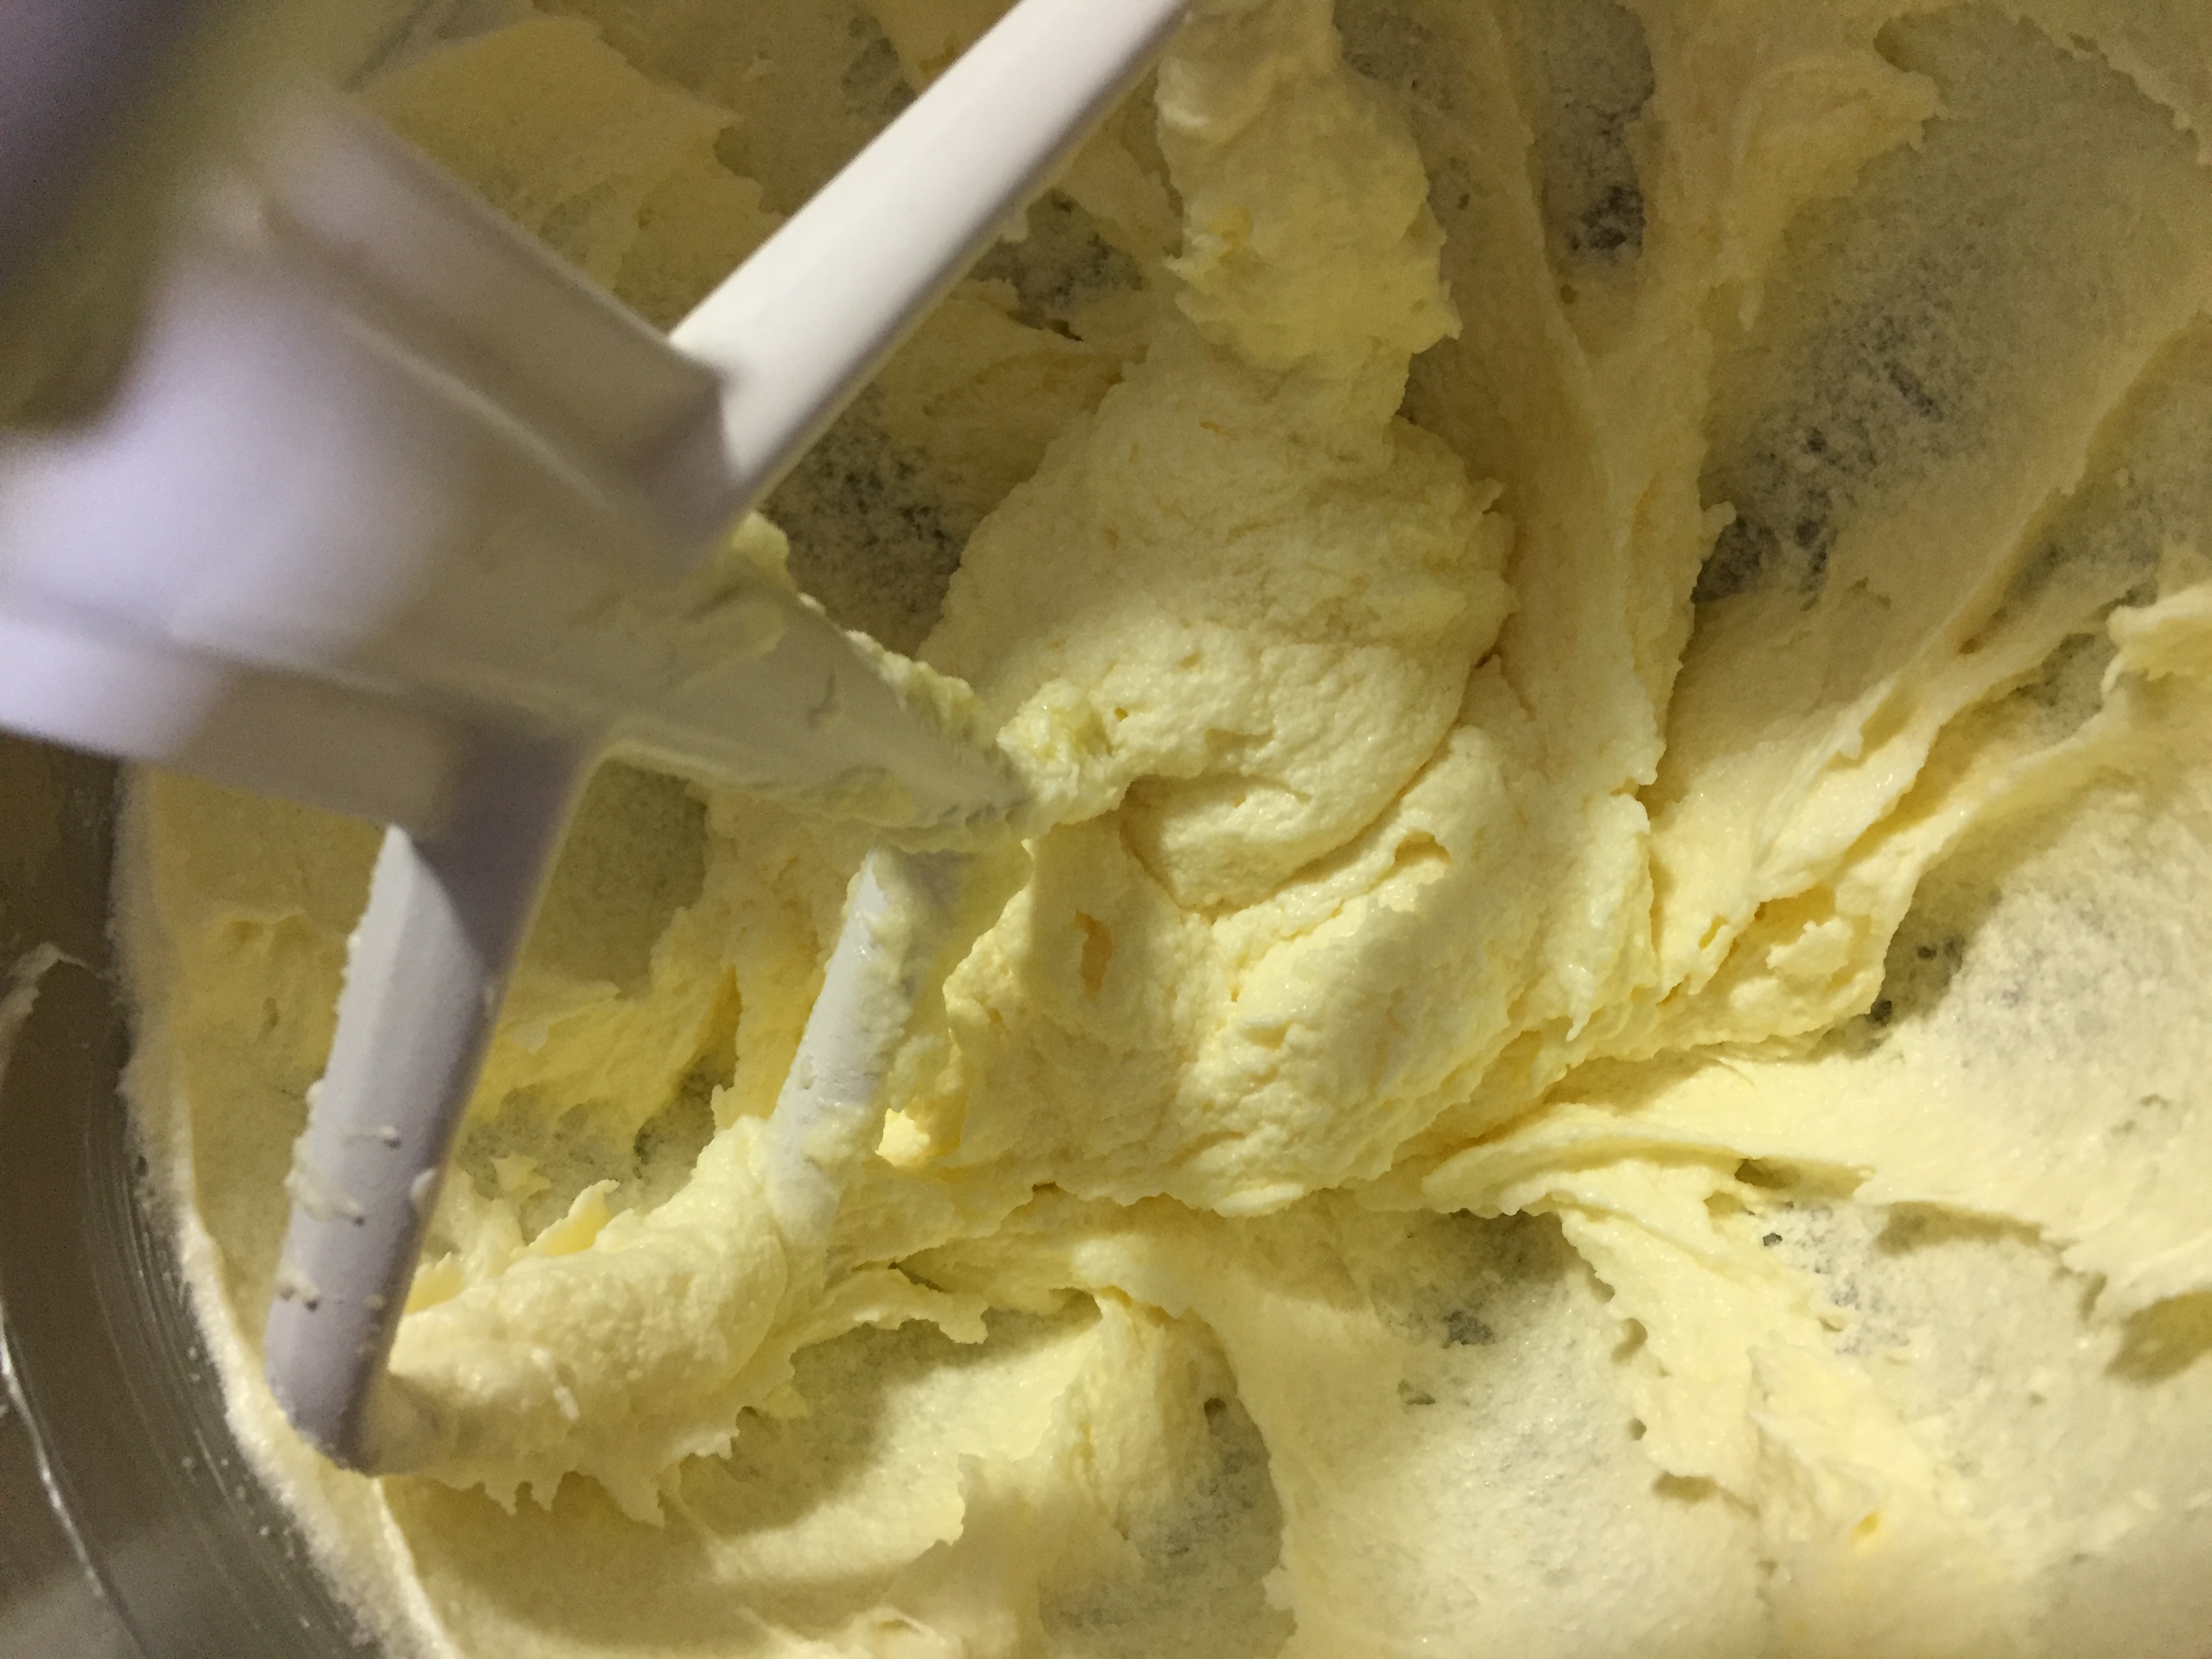
3. Paddle in the vinegar. Next add the eggs one at a time mixing until completely incorporated before adding the second egg.
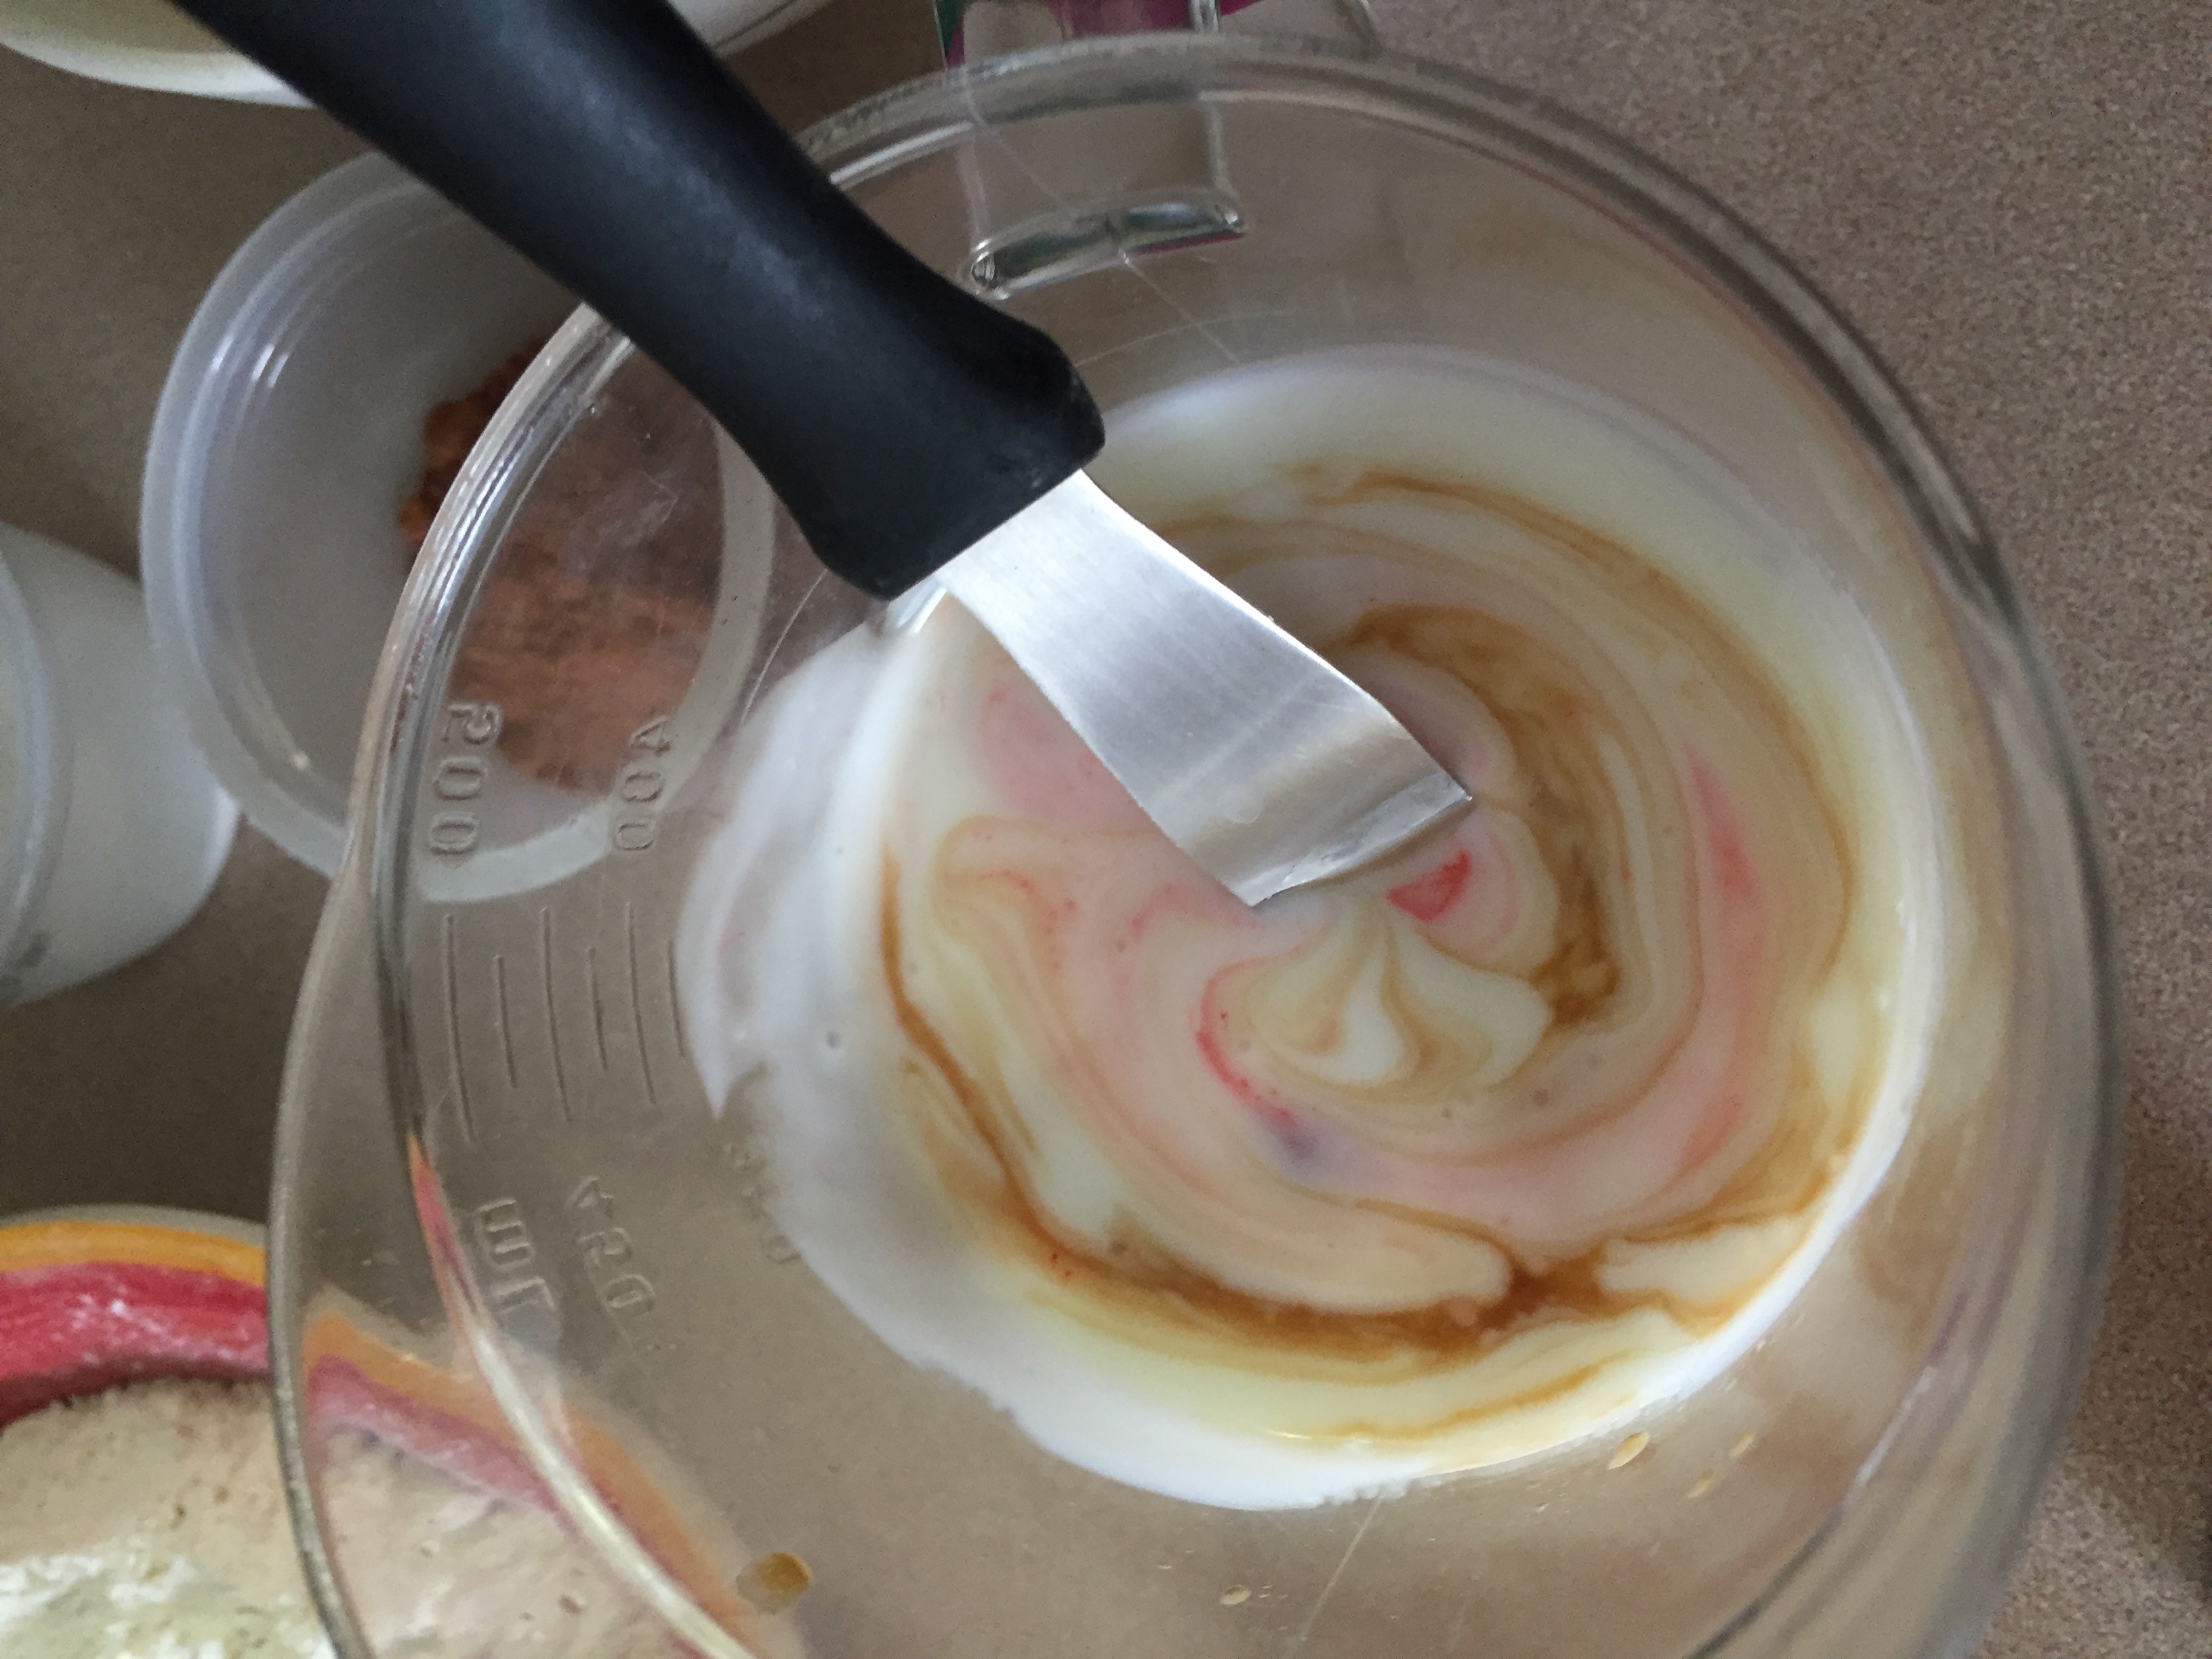
4. Mix together the vanilla, buttermilk and red dye seperately. Stir vigorously to make sure the dye has mixed in.
5. Paddle in half of the dry ingredients and before it is fully mixed in scrape down the sides of mixing bowl and add half the liquid ingredients.
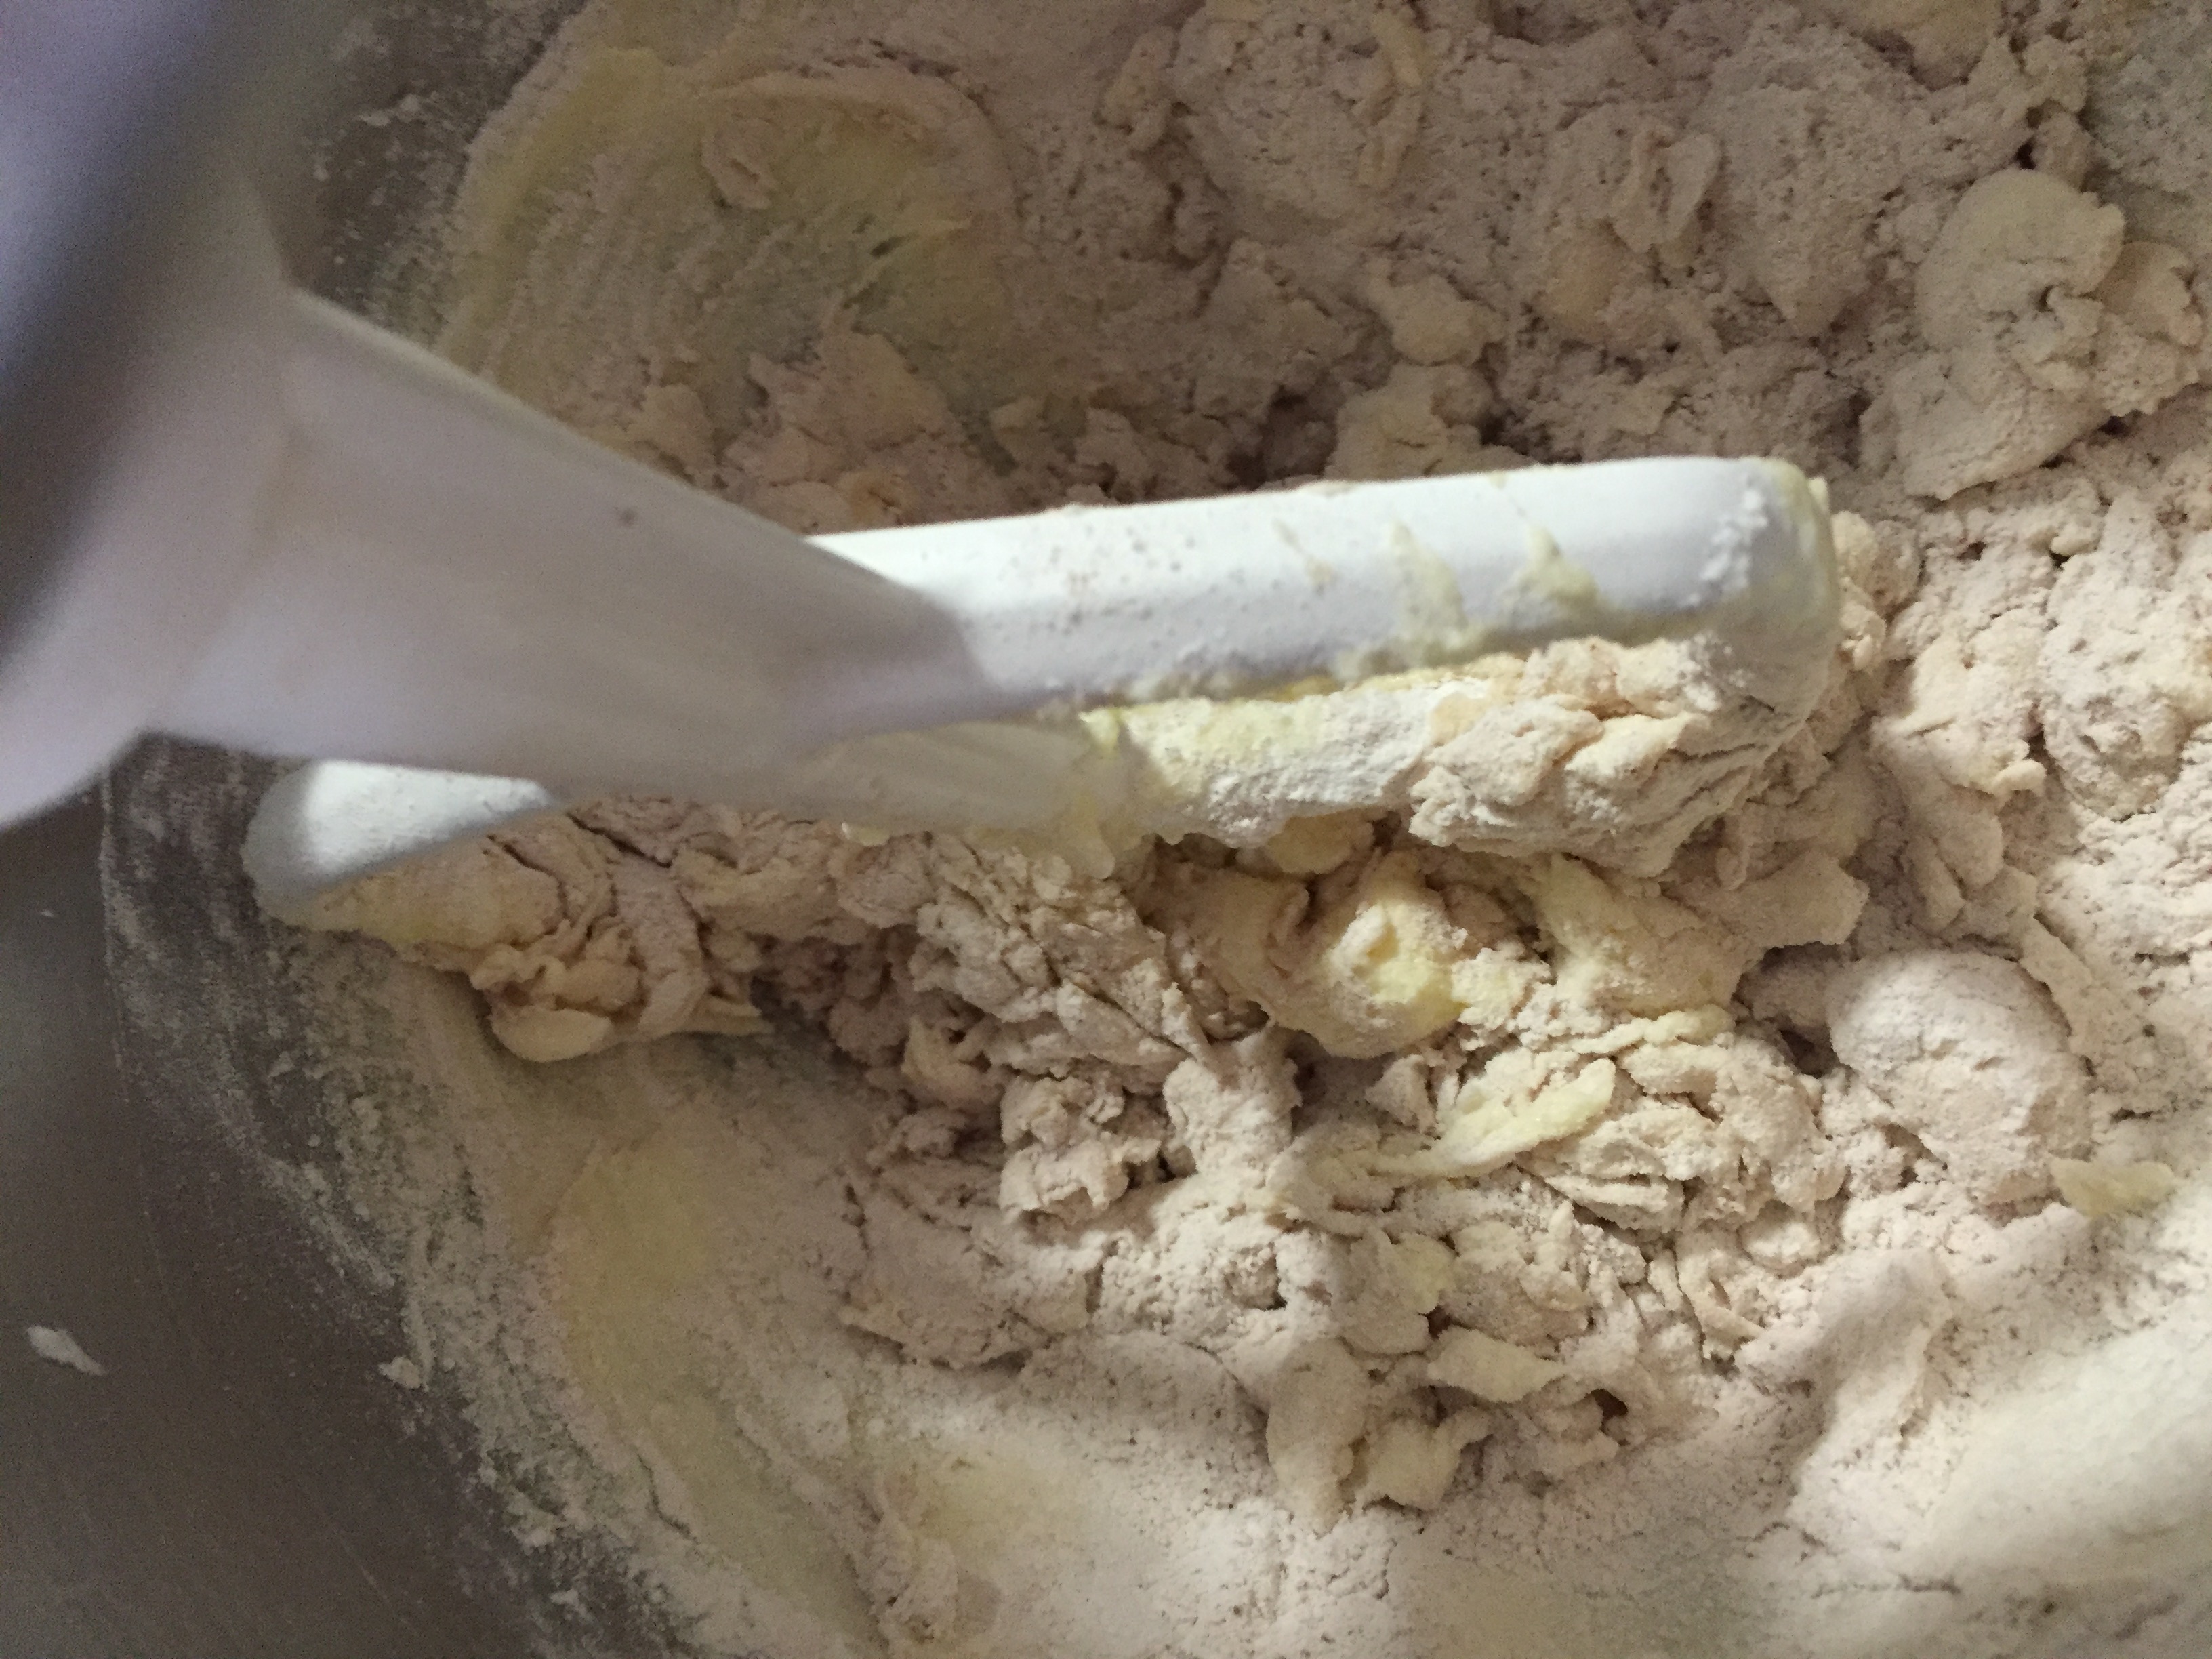
Mix gently at this stage and before the liquid ingredients are fully mixed in
add the last half of dry ingredients.
Repeat. As soon as liquid ingredients are fully incorporated stop mixing. Over mixing at this stage will make the cupcakes tough not tender. Batter should be smooth.
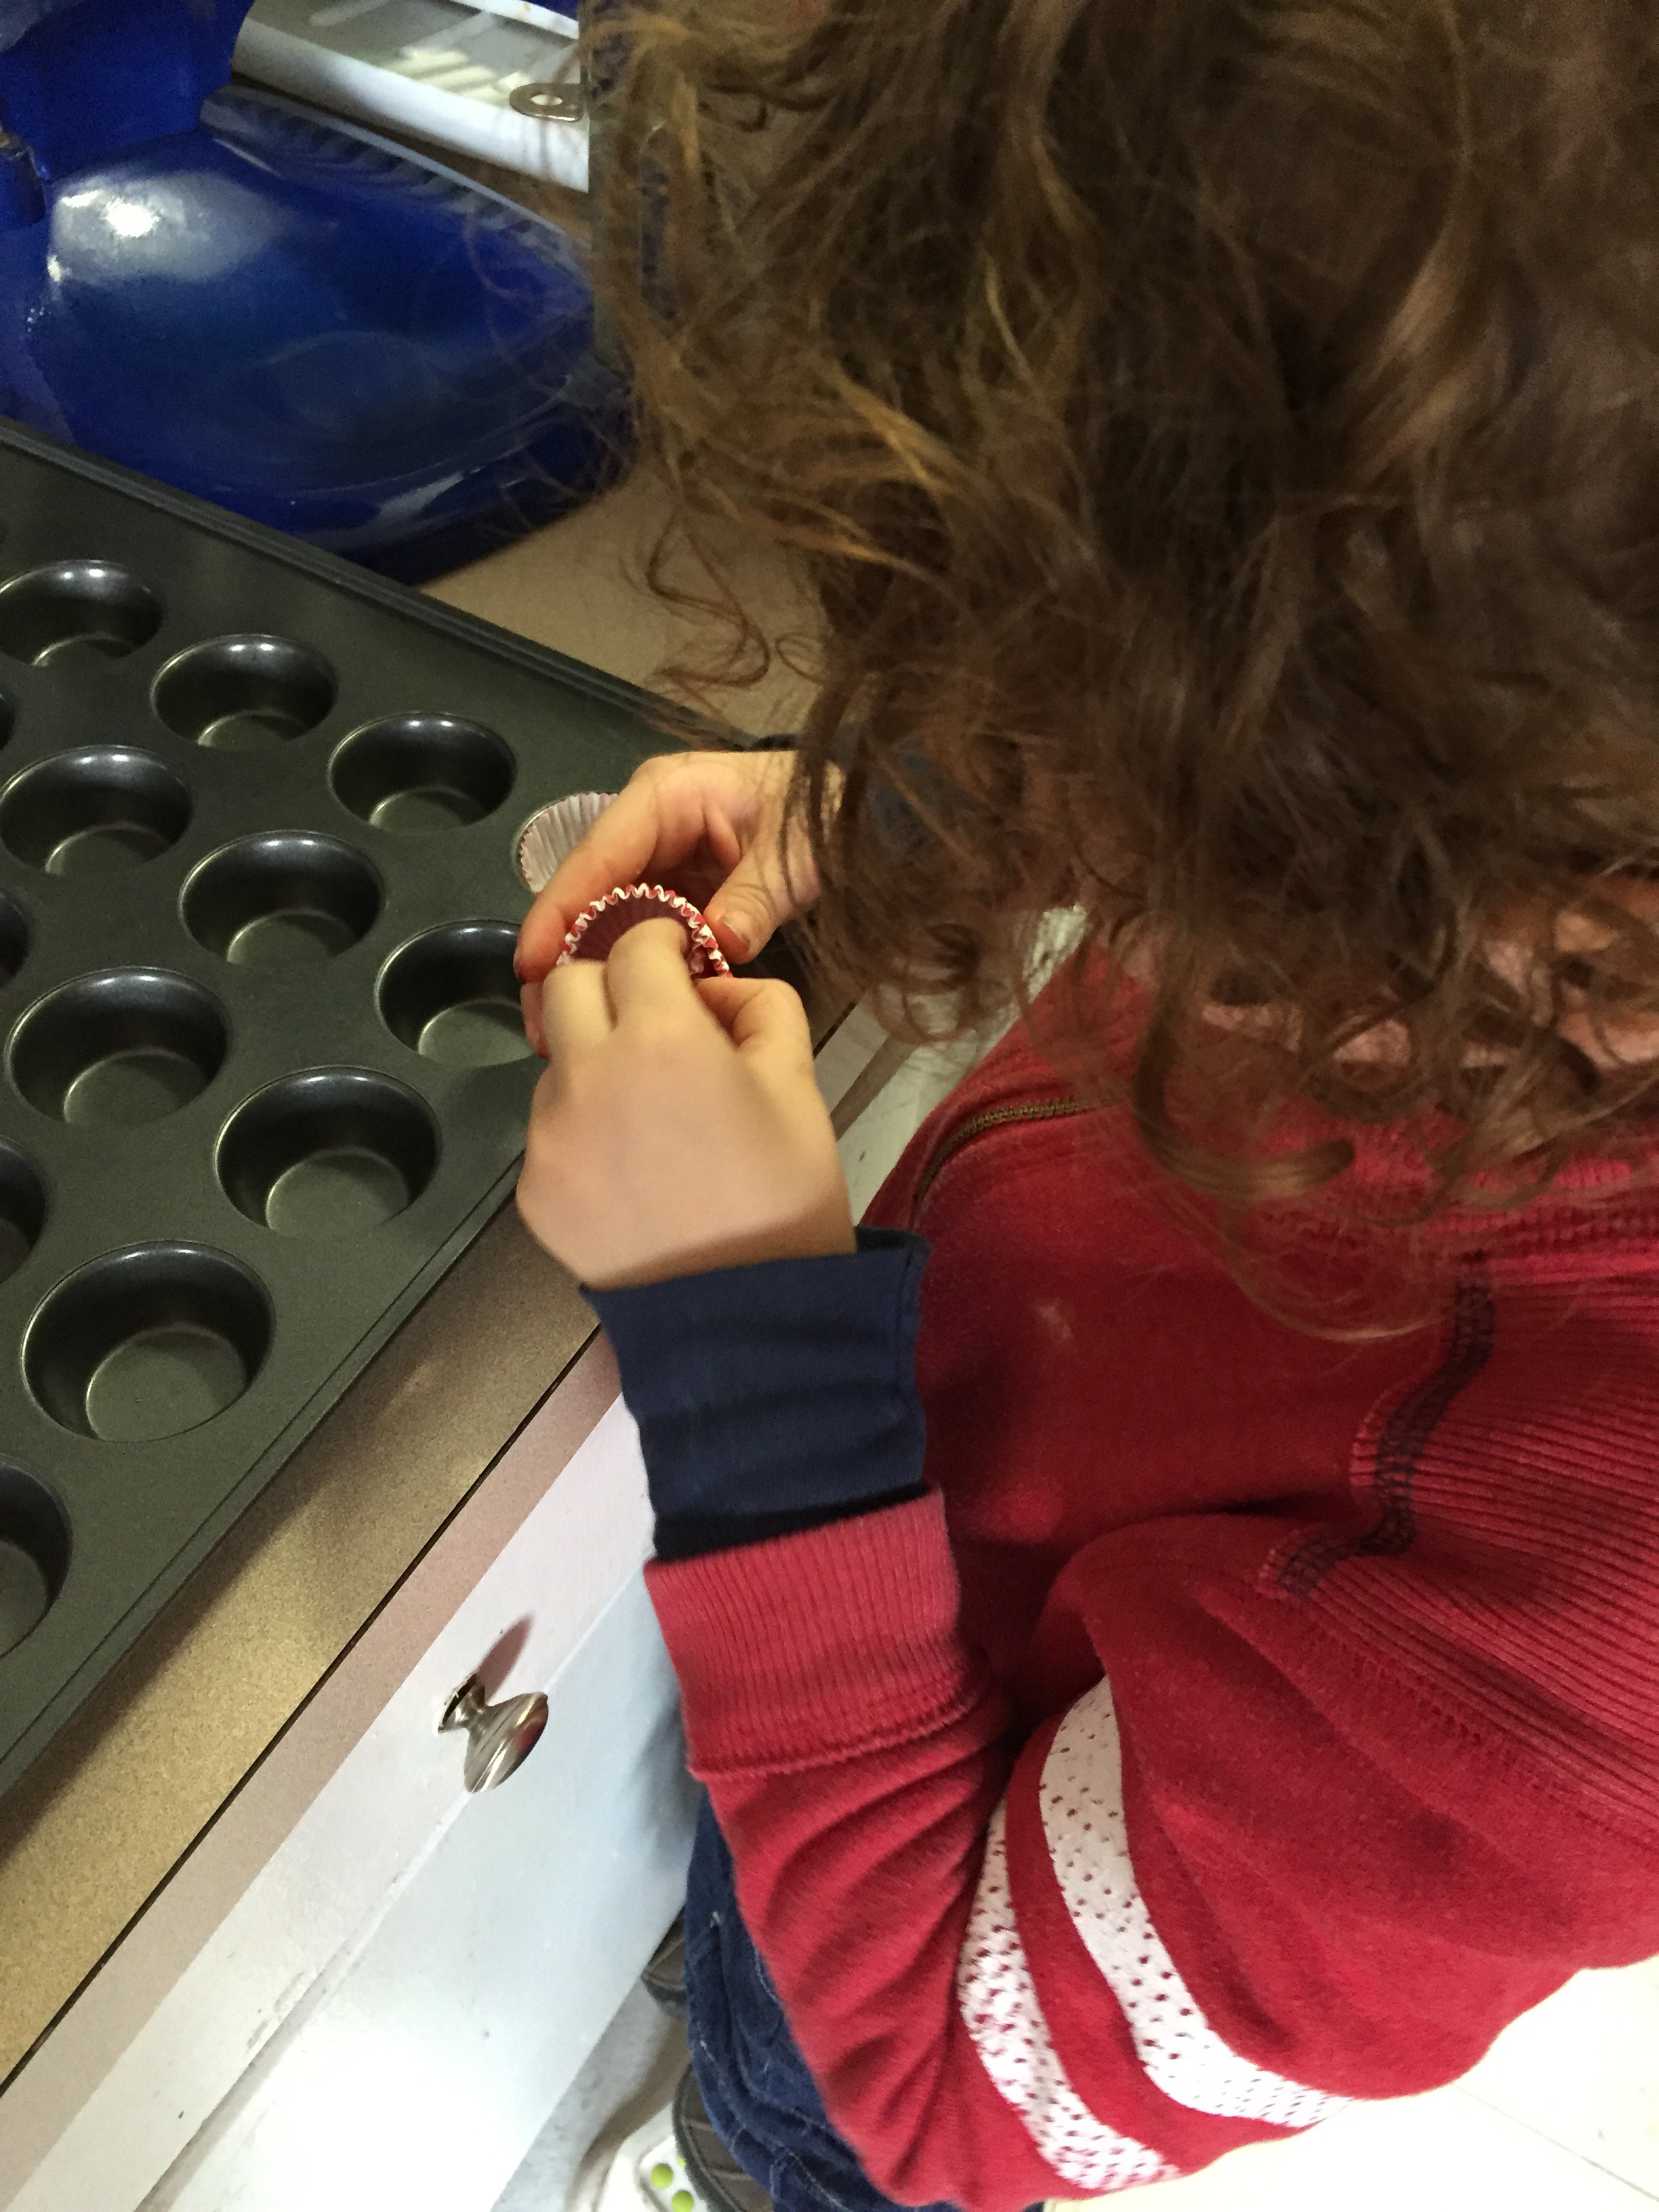
6. Line mini cupcake pan* with cupcake liners*
 ‘
‘
and scoop batter to just below top of liner.
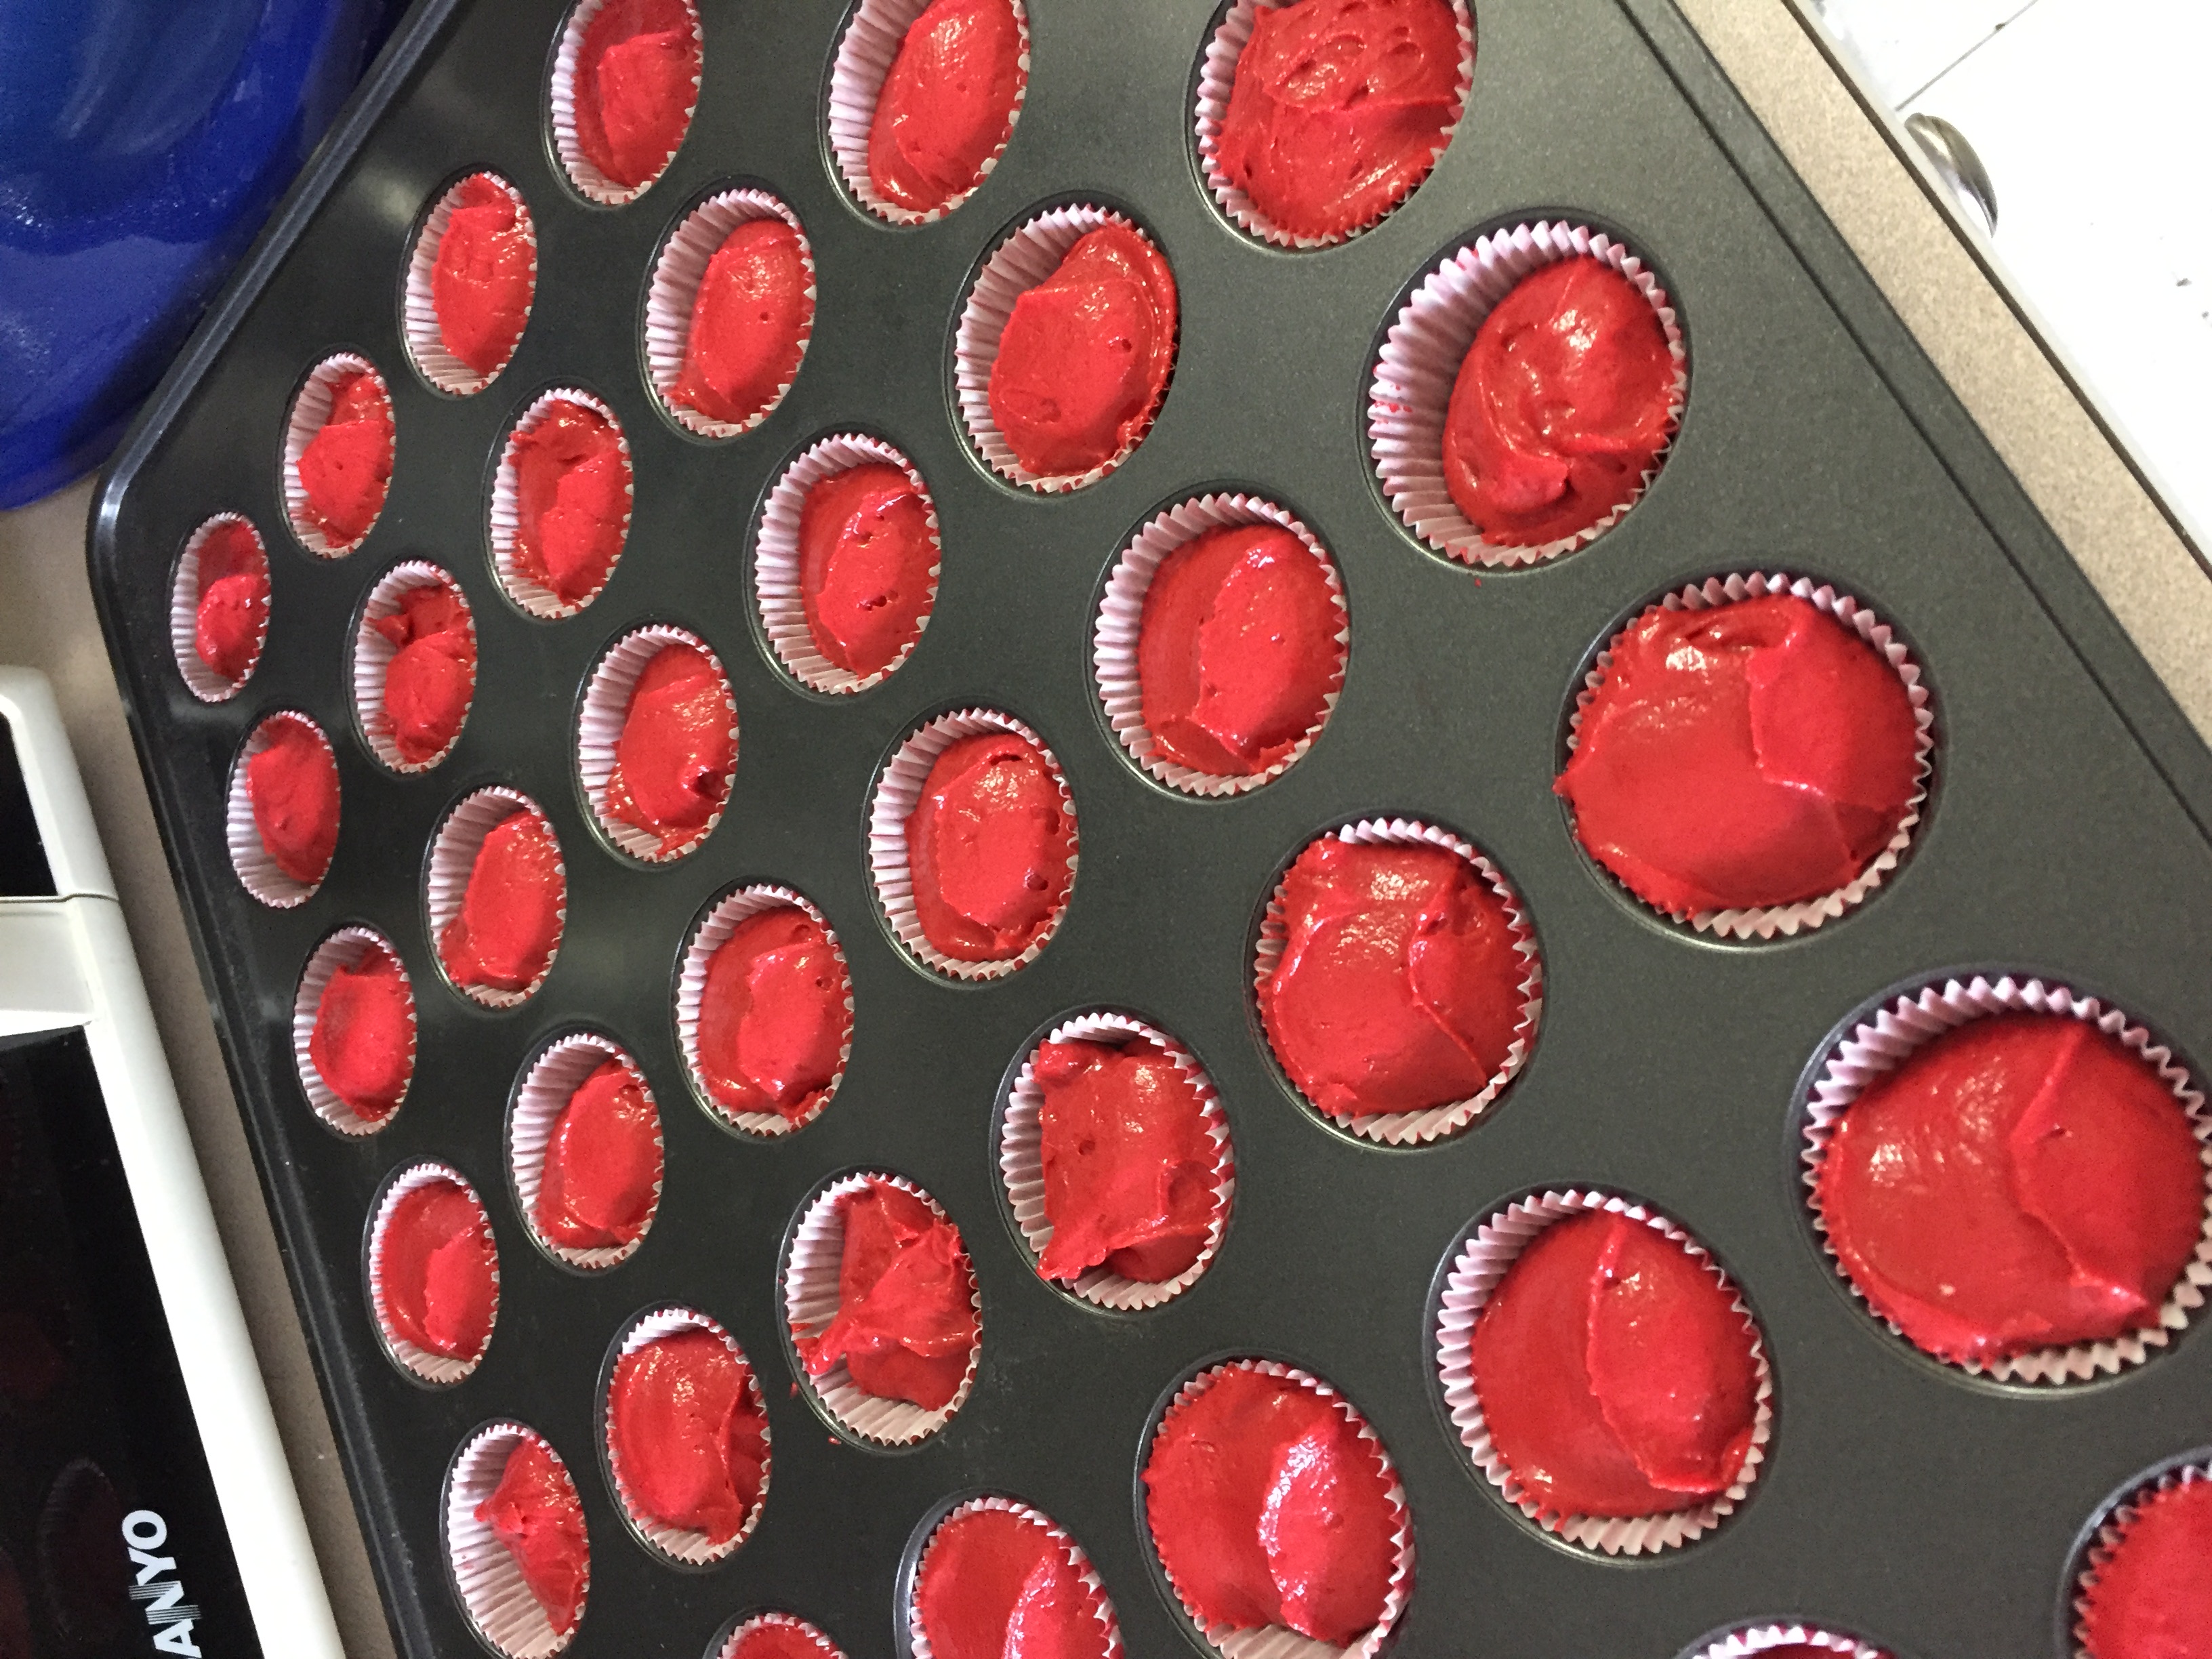
Bake 11 – 14 minutes until cupcakes spring bake from the touch and a cake skewer comes out clean.
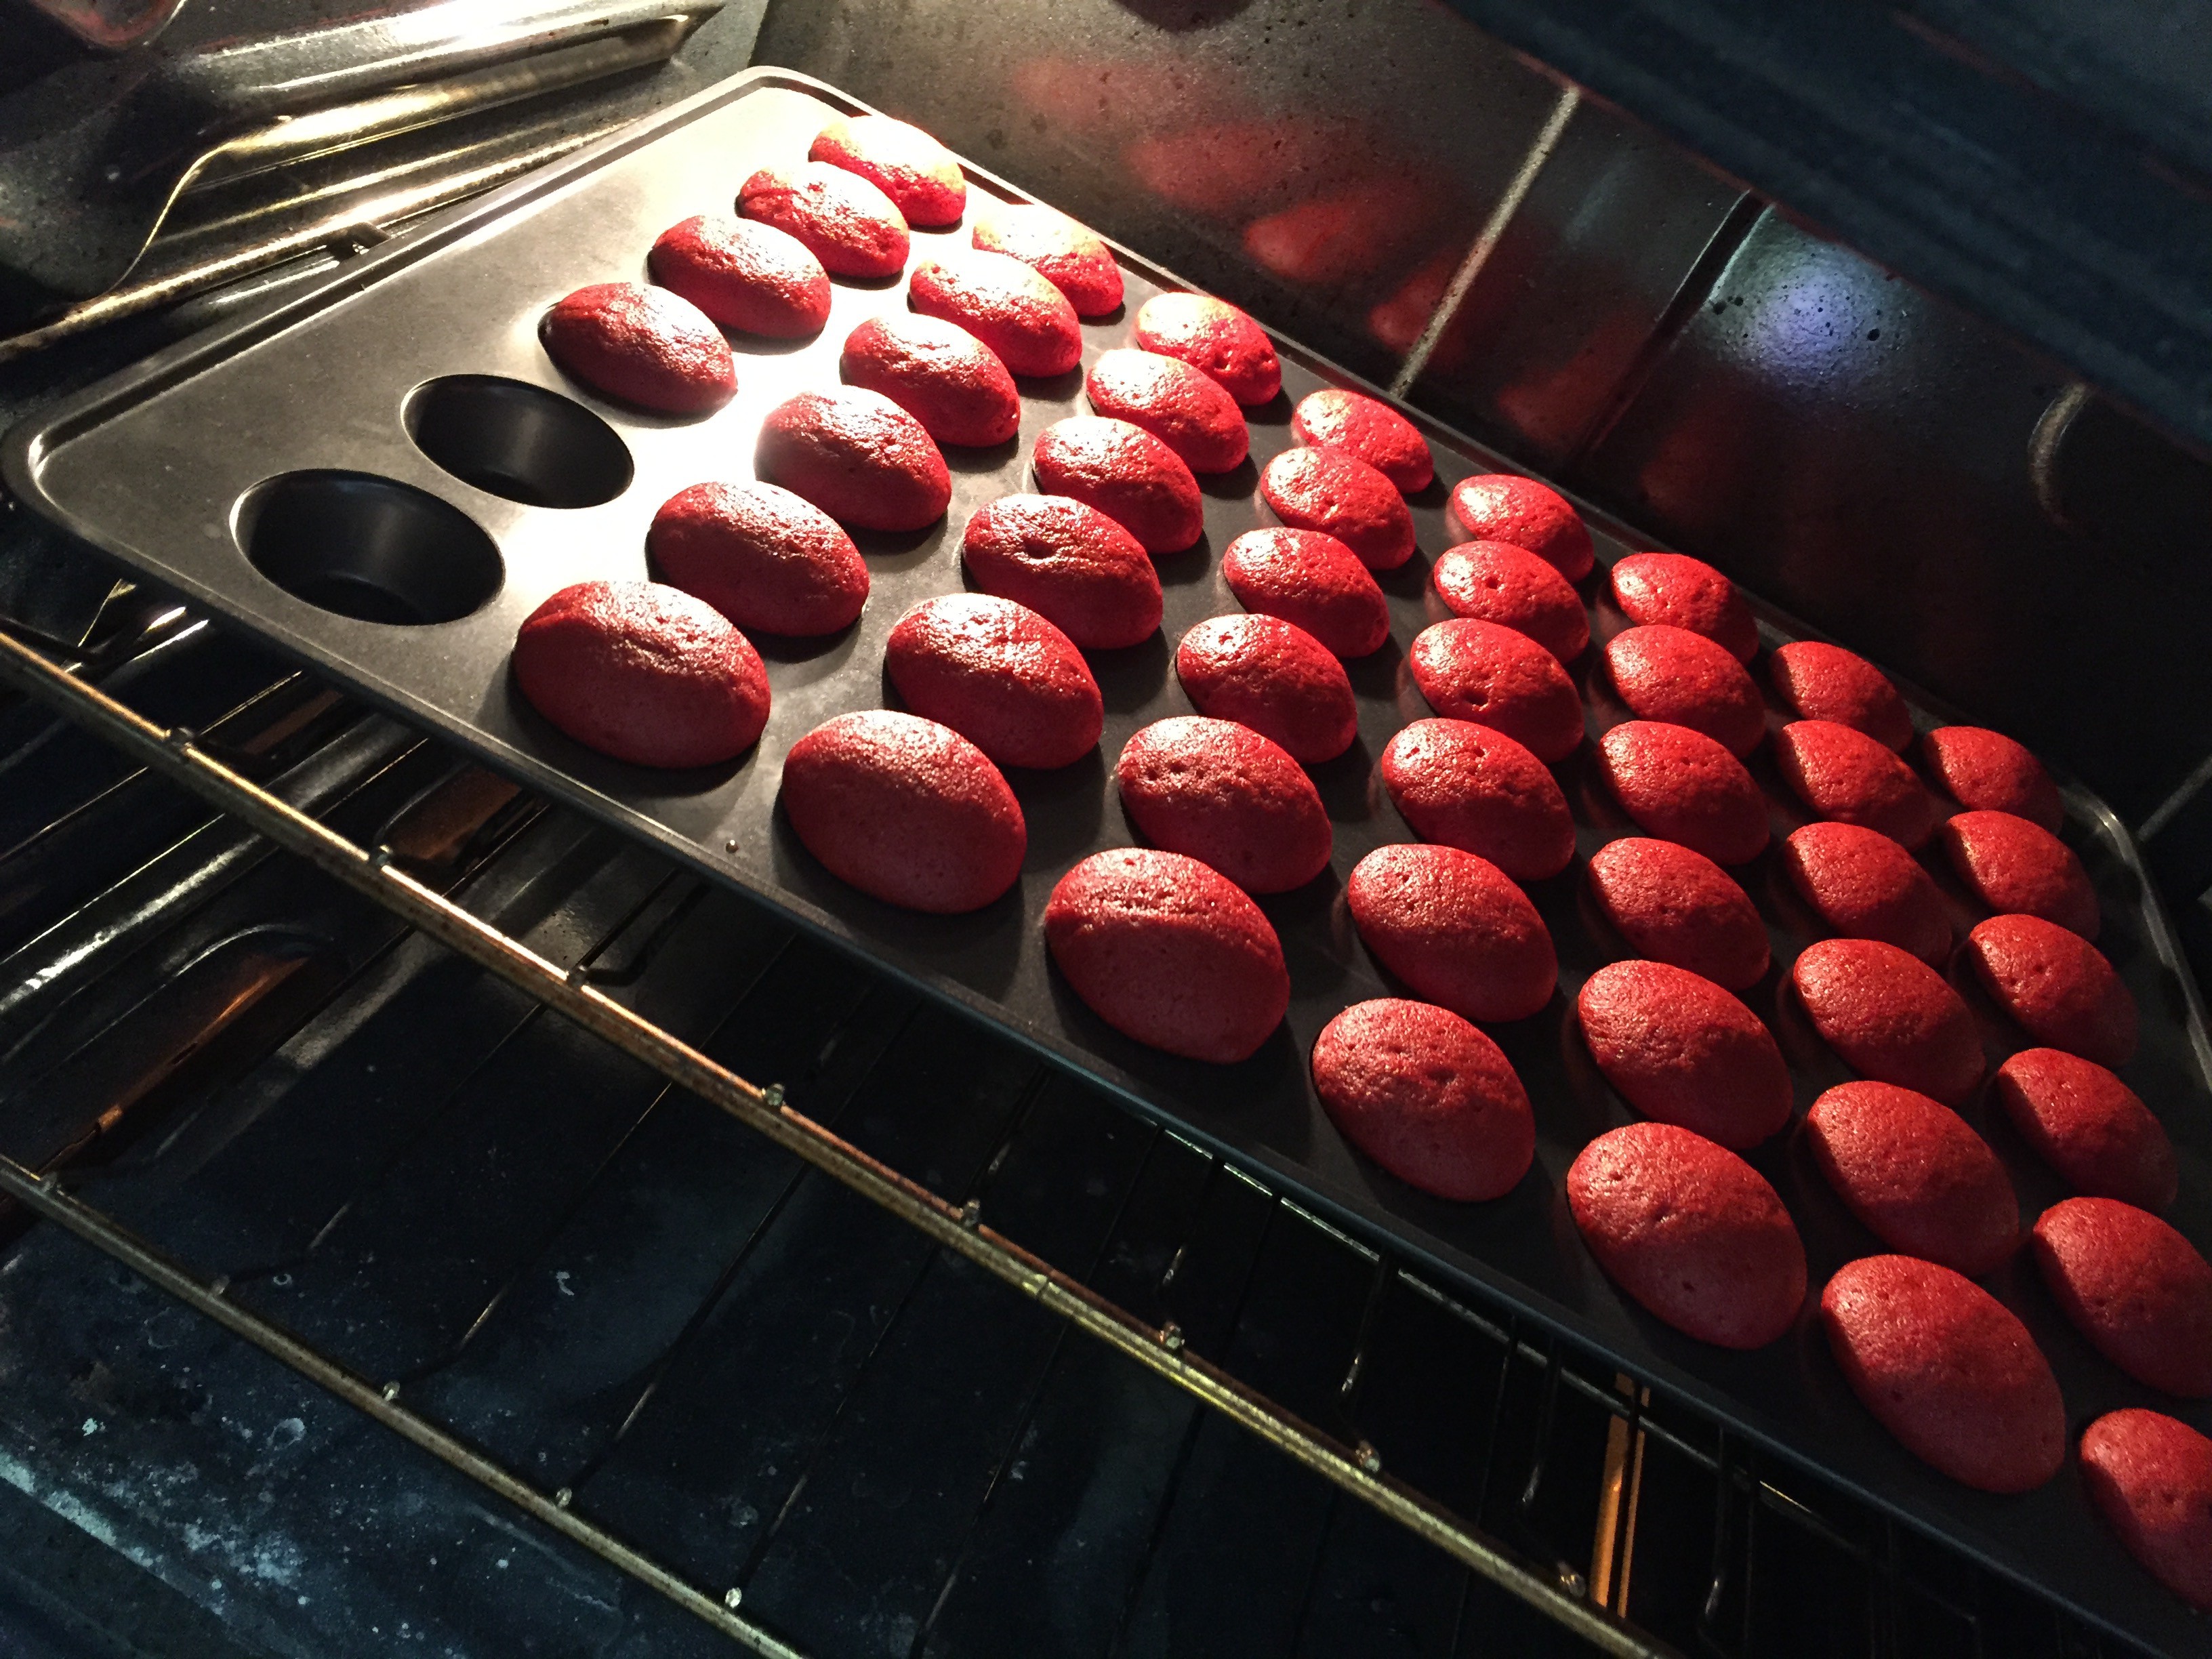
Cool and serve.
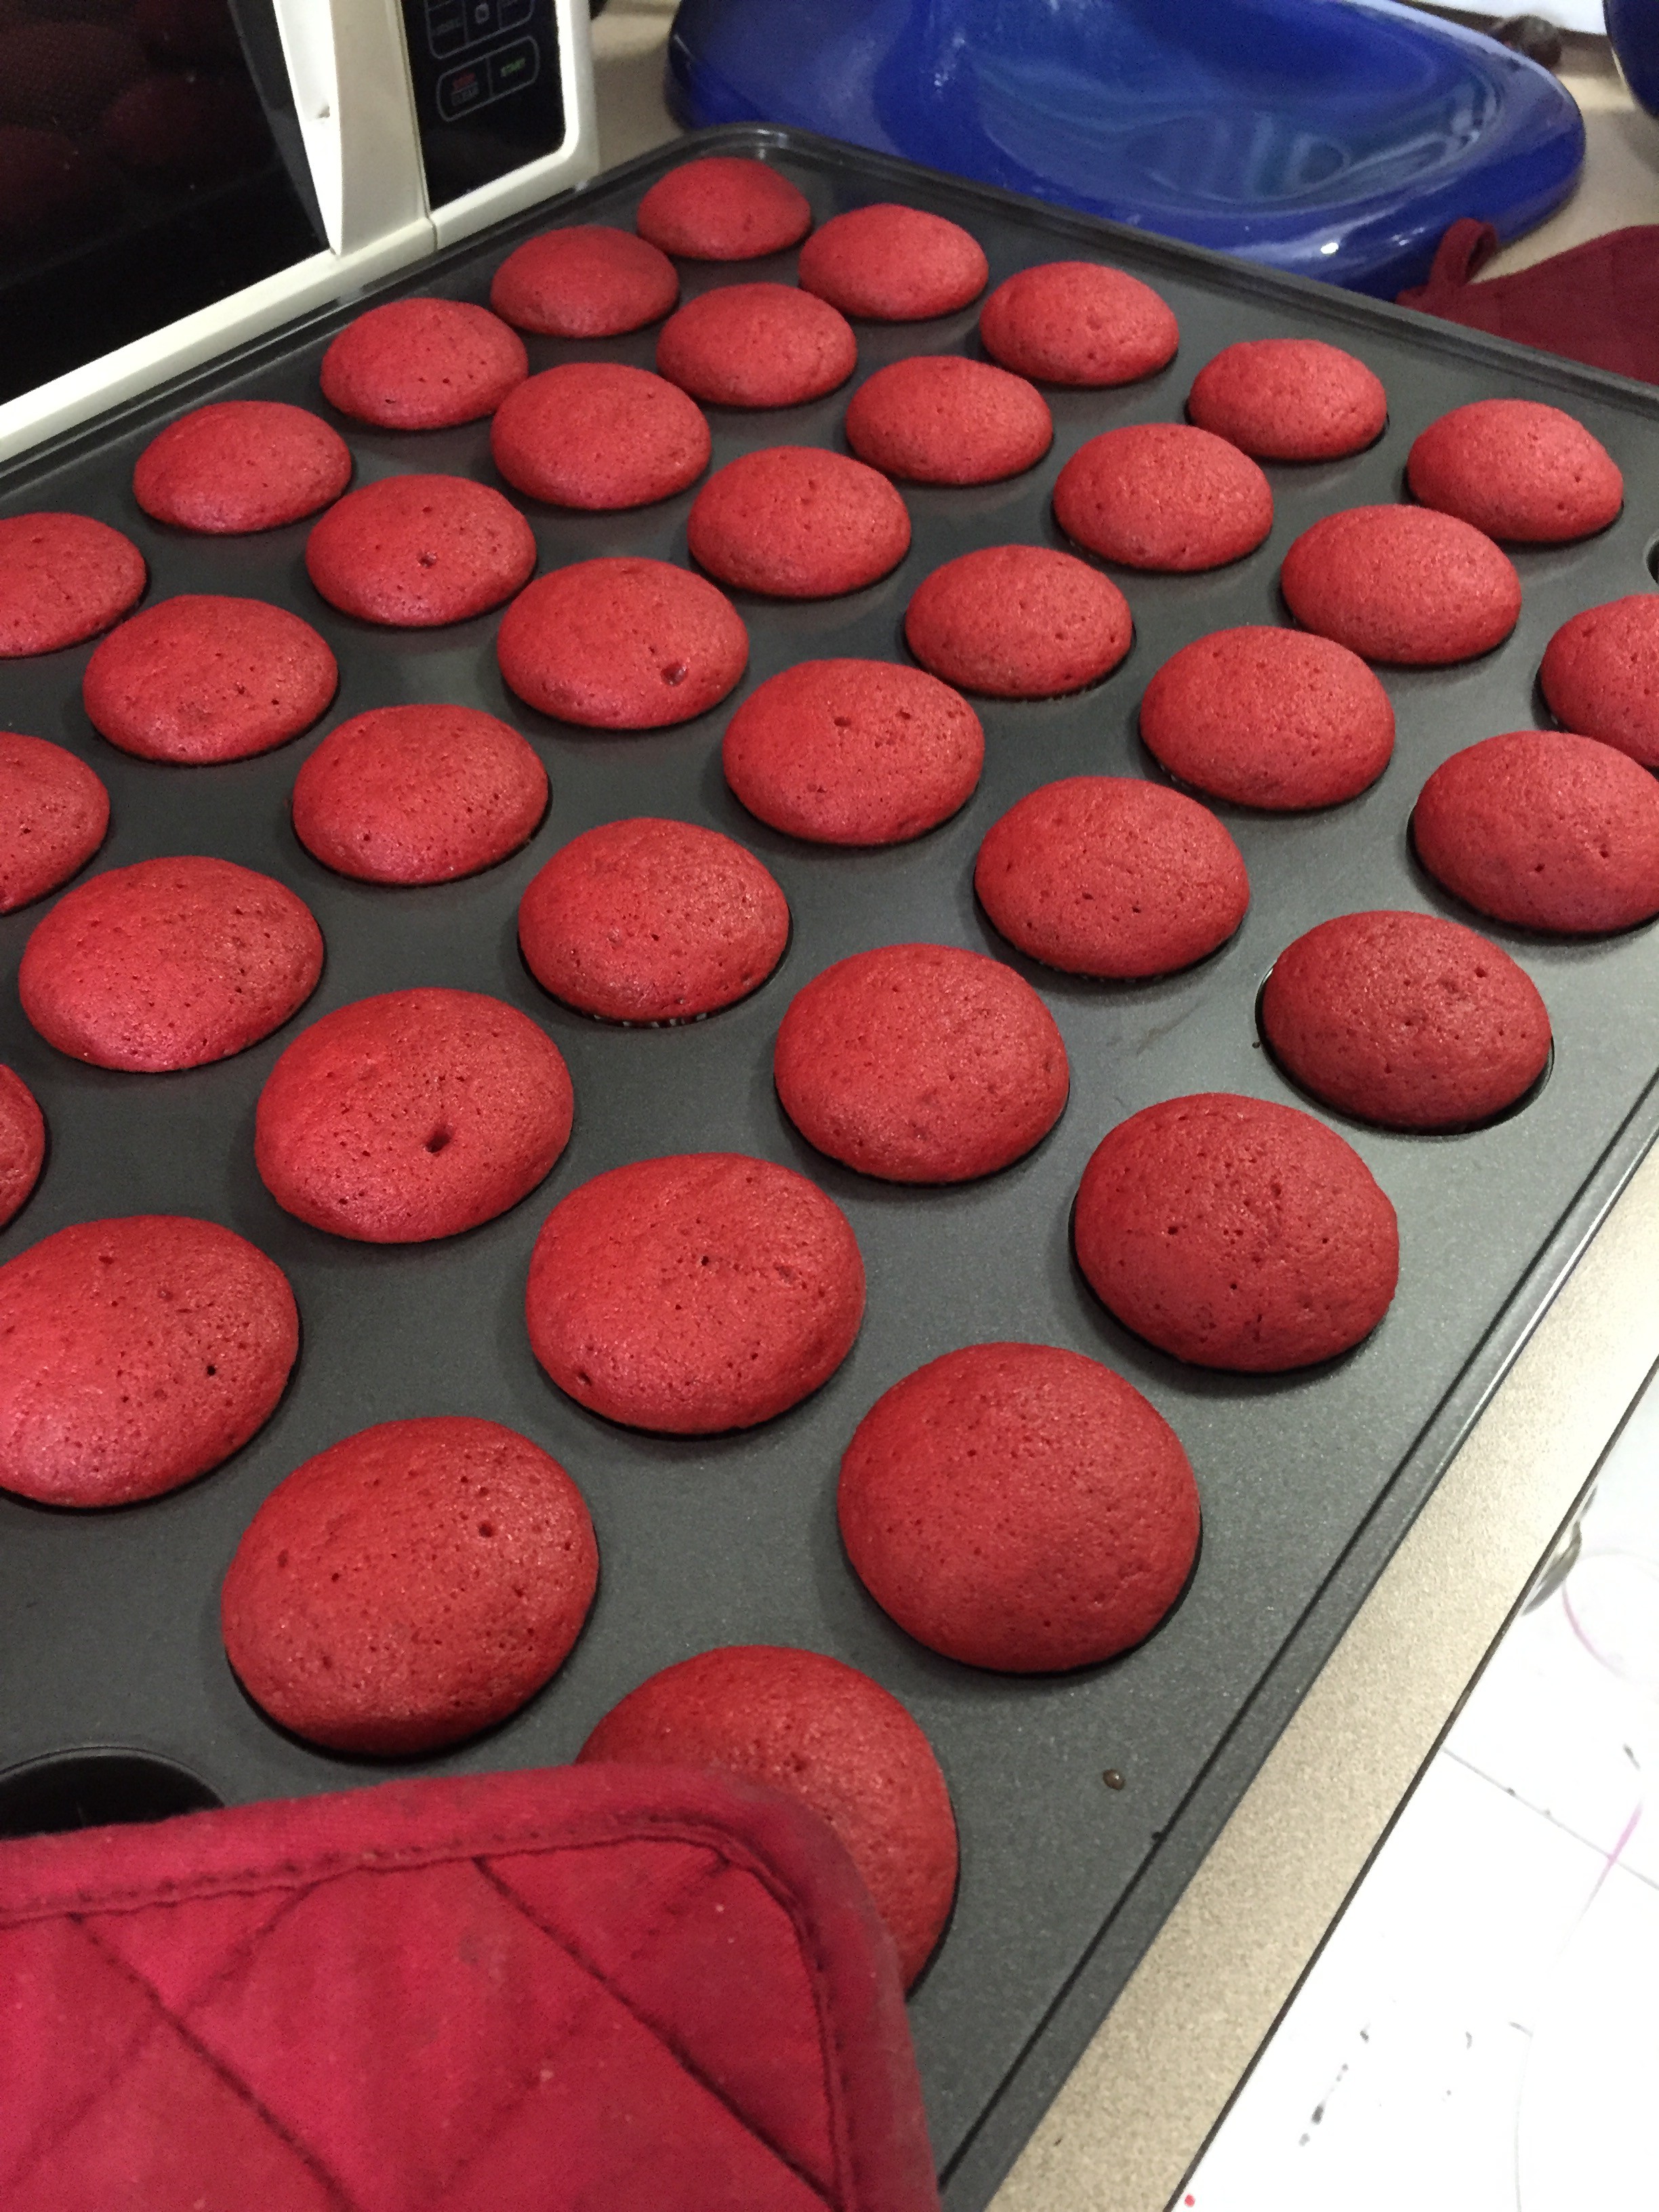
These cupcakes are delicious without any icing, but even more divine with Red Velvet Icing. (Recipe to Follow) Store cupcakes in refrigerator in airtight container up to 4 days.
* These items are available at Michaels stores. Below are the links.
Ingredients
- 1/2 Cup Butter, soft (4 oz)
- 1 1/4 Cups Sugar (9 oz)
- 1 teaspoon White Vinegar
- 2 Large Eggs
- 1 3/4 Cups All Purpose Flour (9 1/2 oz)
- 1 Tablespoon Cocoa Powder (1/3 oz)
- 1 teaspoon Baking Powder
- 1 teaspoon Baking Soda
- 1/2 teaspoon Salt
- 1 teaspoon Vanilla Extract
- 1 Cup Buttermilk
- 2 teaspoons Red "no taste" Icing Color Wilton Brand
Instructions
- Pre-heat oven to 350 degrees. For best results have all ingredients at room temperature. Sift together the dry ingredients.
- Using a stand mixer with the paddle attachment or a hand held mixer, beat the butter until smooth, then add the sugar and paddle until light and fluffy.
- Paddle in the vinegar. Next add the eggs one at a time mixing until completely incorporated before adding the second egg.
- Mix together the vanilla, buttermilk and red dye separately. Stir vigorously to make sure the dye has mixed in.
- Paddle in half of the dry ingredients and before it is fully mixed in scrape down the sides of mixing bowl and add half the liquid ingredients. Mix gently at this stage and before the liquid ingredients are fully mixed in add the last half of the dry ingredients. Repeat. As soon as liquid ingredients are fully incorporated stop mixing. Over mixing at this stage will make the cupcakes tough not tender. Batter should be smooth.
- Line mini cupcake pan with cupcake liners and scoop batter to just below top of liner. Bake 11 - 14 minutes until cupcakes spring back from the touch and a cake skewer comes out clean. Cool and serve.
Notes
These cupcakes are delicious without any icing, but even more divine with Red Velvet Icing. (Recipe to follow) Store cupcakes in refrigerator in airtight container up to 4 days.
©2016 Alexandersmom.com. All Rights Reserved.

Thank you for reading our recipe. Please let us know if there is something you would like us to create for you!
This is fantastic! It looks like you guys had a lot of fun doing this!
We certainly did and even more fun eating them! Thanks for checking us out.
Looks like double yumm!! Where’d you get that huge muffin sheet? Happy Valentine’s Day Alexander & Tori!!
I got it at Michaels in the store. They only have the small one on line. Thanks for checking out our site! Xox
Do you deliver?
Just kidding, but my mouth is watering!
The photographs are wonderfully illustrative, and Alexander’s delight, so adorably captured. Keep it up, Tori.
Happy Valentine’s Day to you all.
Auntie Mare
Who knows we might just have to start! Thank you so much for your comments! Very encouraging and we are working toward getting some video together for YouTube. Xox
This is great Tori… A wonderful and continuing project for you! I love the photos! Looking forward to seeing the next recipe. Happy Valentines Day!
Thank you so much! Red Velvet Icing is next and then hopefully Basil Pesto using basil from our windowsill plant. I’m waiting on some of the leaves to come in fuller. I need 2 full cups of basil leaves. We are going to try to keep the recipes coming so let me know if there is anything you would like to see. Xox